
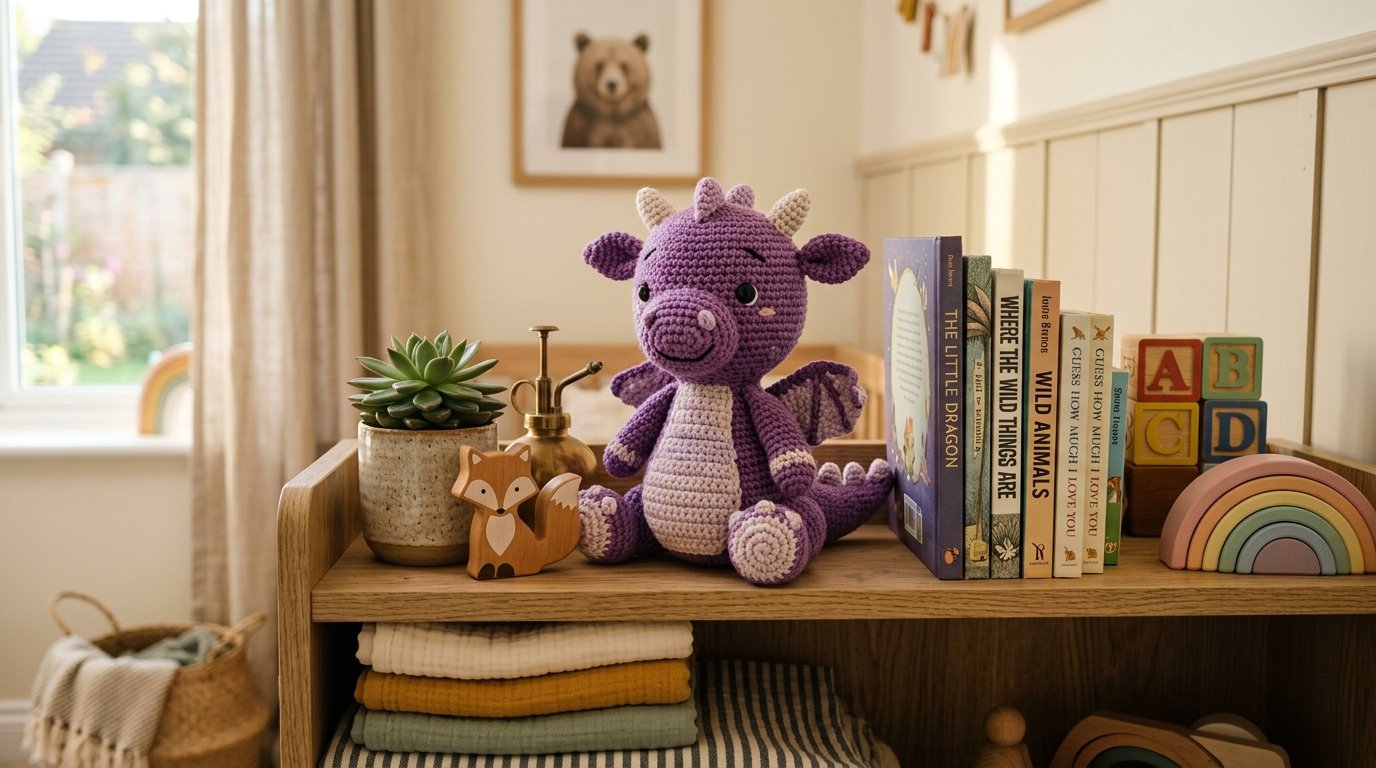
There’s something magical about crocheting your own dragon. With its tiny wings, curved horns, chunky body, and lovable expression, a plush dragon quickly becomes one of the most rewarding amigurumi projects to make. Whether it’s destined for a nursery shelf, a child’s toy collection, or your own handmade display, a crochet dragon is a timeless project that never goes out of style.
If you’ve been searching for an amigurumi dragon free pattern, this guide will walk you through everything you need to know before you begin. Instead of focusing only on stitches, it covers the essential materials, helpful techniques, construction tips, and finishing advice that will help you create a soft, cuddly dragon you’ll be proud of.
Why You’ll Love This Amigurumi Dragon
This dragon combines adorable proportions with beginner-friendly construction, making it suitable for crocheters who already know the basic amigurumi techniques.
Some of the reasons makers love this project include:
- Soft plush texture that’s perfect for cuddling
- Cute fantasy-inspired design with wings and horns
- Easy-to-customize colors
- Excellent handmade gift idea
- Great stash-busting project for plush yarn
- Wonderful addition to nursery décor or fantasy collections
Because every piece is assembled separately, the project feels manageable and allows you to focus on one section at a time.
Materials You’ll Need
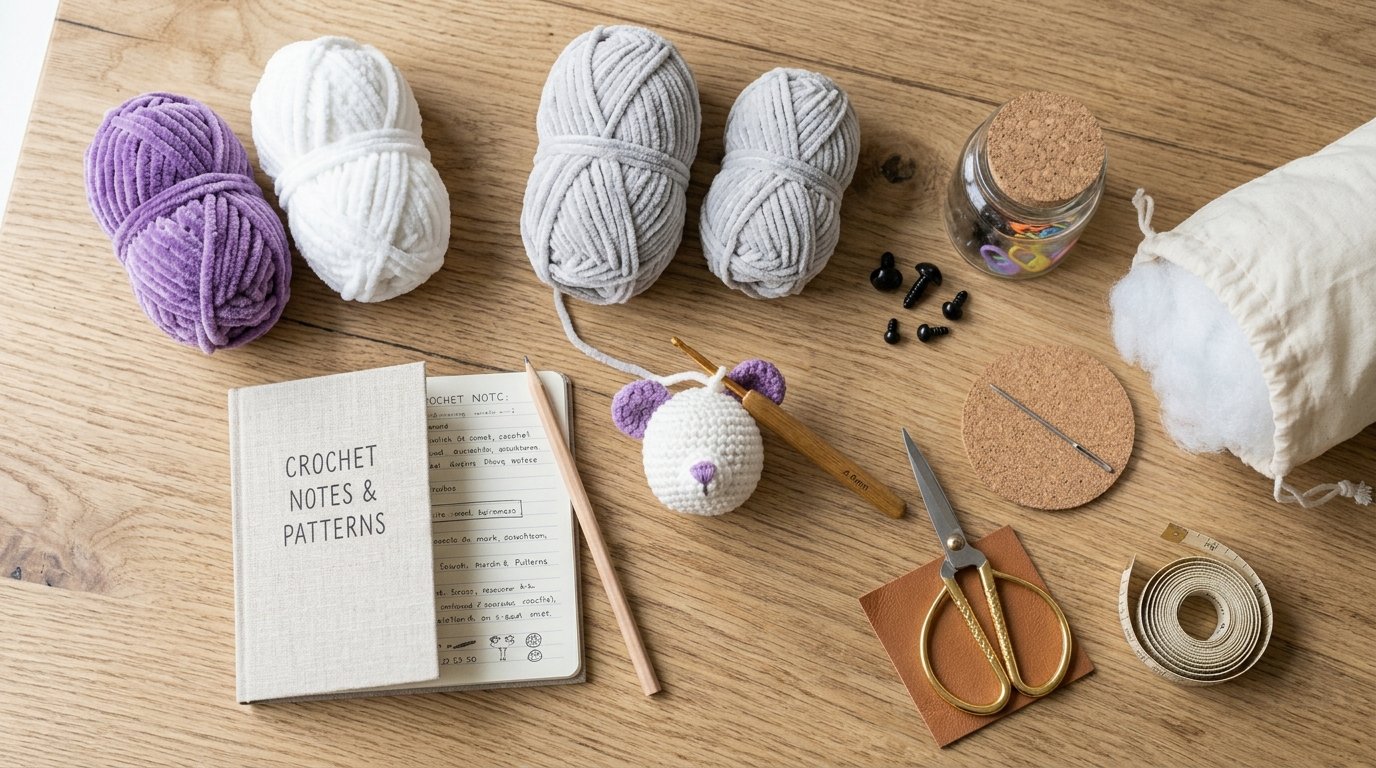
Before starting your dragon, gather all of your supplies to make the crocheting process smooth and enjoyable.
Yarn
A plush chenille yarn creates the soft, squishy texture that makes modern amigurumi so popular.
Recommended choices include:
- Purple plush yarn for the main body
- White plush yarn for contrasting details
- Acrylic yarn for facial embroidery and decorative accents
Many crocheters enjoy using velvet or chenille yarn because it gives dragons a premium stuffed-animal appearance while hiding small stitch imperfections.
Crochet Tools
Besides yarn, you’ll need a few essential tools:
- 4 mm crochet hook
- 16 mm safety eyes
- Stitch marker
- Yarn needle
- Sharp embroidery scissors
- Hollow fiber stuffing
Keeping these tools nearby will make assembly much easier once all the individual pieces are finished.
Crochet Abbreviations You’ll See
If you’re new to amigurumi, understanding common crochet abbreviations makes following almost any pattern much easier.
Some of the most common abbreviations include:
- MR – Magic Ring
- ch – Chain
- st – Stitch
- sl st – Slip Stitch
- sc – Single Crochet
- inc – Increase
- dec – Decrease
- BLO – Back Loop Only
- hdc – Half Double Crochet
- dc – Double Crochet
- BBL – Bobble Stitch
- FO – Fasten Off
- cc – Color Change
Learning these abbreviations early allows you to tackle thousands of amigurumi projects with confidence.
Skill Level
This dragon is generally considered an easy to intermediate amigurumi project.
While the stitches themselves are straightforward, you’ll want to be comfortable with:
- Working in continuous rounds
- Creating a magic ring
- Increasing and decreasing evenly
- Changing yarn colors neatly
- Sewing multiple pieces together
- Embroidering simple facial features
Even ambitious beginners can complete a dragon like this with patience and careful attention to detail.
What Makes This Dragon Special?
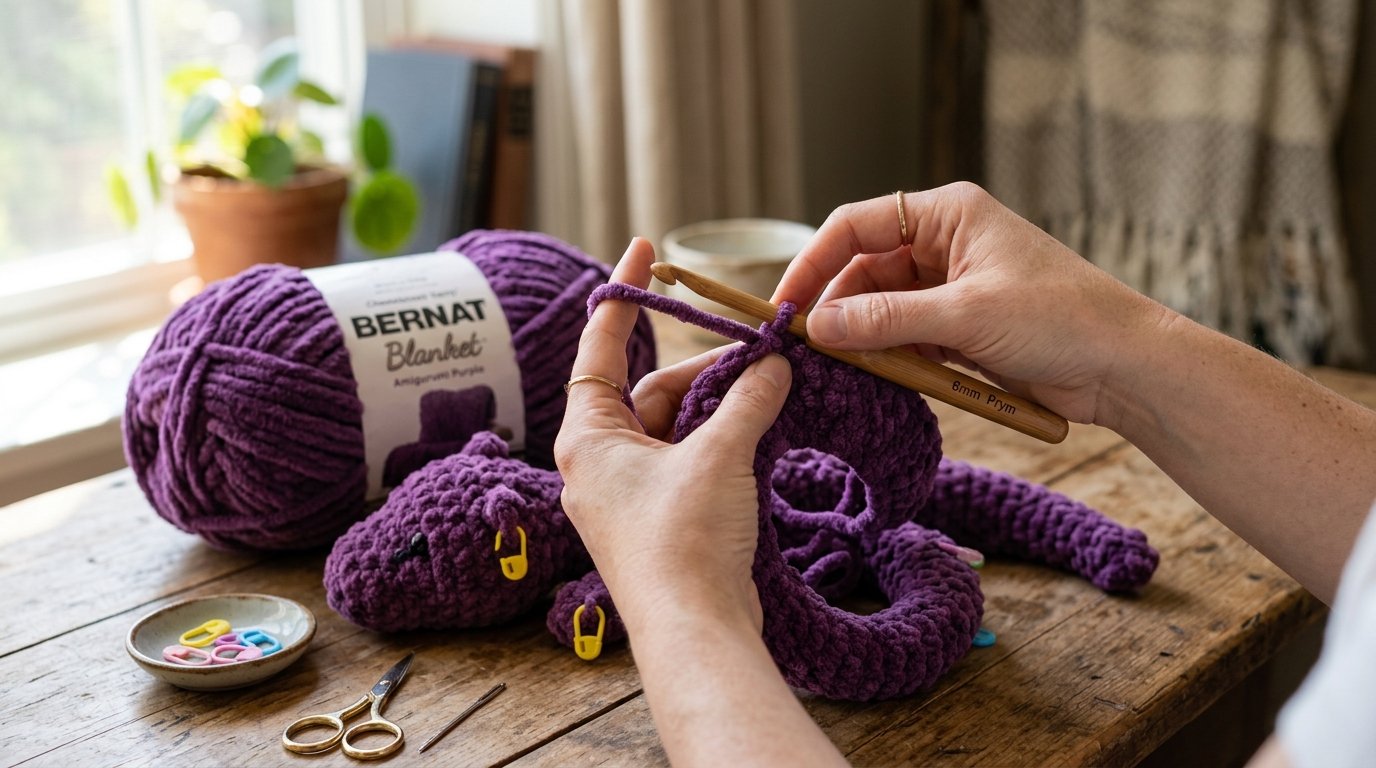
Unlike many fantasy creatures that rely on complicated shaping, this dragon is built from simple rounded forms.
The design typically includes:
- A chunky plush body
- Short sturdy legs
- Tiny arms
- Long curved tail
- Small textured wings
- Cute horns
- Sweet embroidered facial details
These features create an adorable character rather than a fierce mythical creature, making it appealing to both children and adults.
Before You Begin
Taking a few minutes to prepare can make the entire project more enjoyable.
Helpful tips include:
- Wind your yarn into cakes if needed.
- Keep stitch markers nearby.
- Stuff gradually rather than all at once.
- Count stitches at the end of every round.
- Leave long yarn tails for sewing pieces together.
- Test safety eye placement before attaching them permanently.
Small preparation steps often lead to cleaner results and a more polished finished dragon.
What to Expect Next
The dragon is typically constructed one piece at a time, starting with the smaller limbs before moving on to the larger body and head. Once every section is complete, the individual pieces are sewn together and finished with embroidery to bring your dragon’s personality to life.
In the next part of this guide, we’ll explore how the different sections of the dragon come together, share expert assembly tips, explain stuffing techniques, and cover practical advice for creating a beautifully shaped plush dragon without common beginner mistakes.
How to Assemble Your Amigurumi Dragon Like a Pro
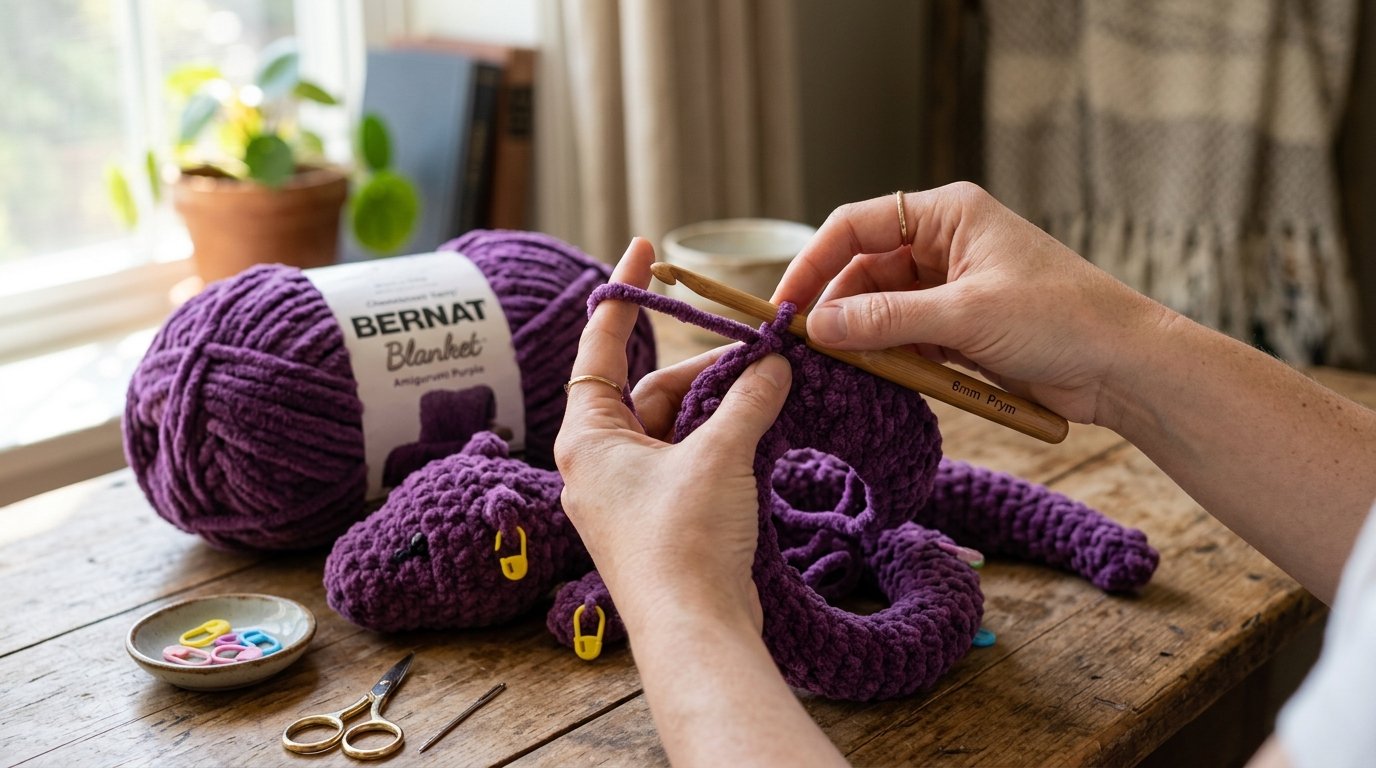
Once you’ve crocheted all of the individual pieces, the fun really begins. Assembly is where your dragon transforms from a collection of plush shapes into an adorable fantasy companion with its own personality.
Taking your time during this stage will make a noticeable difference in the final appearance.
Understanding the Construction
Most plush dragon amigurumi projects are built from several separate components that are joined together after crocheting.
These commonly include:
- Body and head
- Two legs
- Two arms
- Tail
- Two wings
- Two horns
- Mouth or snout detail
- Embroidered facial features
Working with separate pieces makes the project less overwhelming and allows you to perfect each section before moving on.
Assemble in the Right Order
Although every designer has a slightly different approach, many experienced crocheters find this order works well:
- Finish stuffing the body and head.
- Attach the legs so the dragon sits evenly.
- Sew the arms in a balanced position.
- Add the tail securely to the back.
- Position the wings symmetrically.
- Attach the horns.
- Sew on the mouth detail.
- Embroider the facial features last.
Checking the placement from multiple angles before sewing permanently helps create a balanced, professional-looking finish.
Tips for Perfect Stuffing
Proper stuffing gives your dragon its soft yet sturdy shape.
For the best results:
- Add stuffing gradually instead of all at once.
- Push filling into small areas using the back of your crochet hook or a stuffing tool.
- Keep the neck and body firm enough to support the head.
- Avoid overstuffing, which can stretch stitches and expose the filling.
- Add extra stuffing to the tail if you want it to hold a gentle curve.
Even stuffing creates smooth, rounded shapes that look much more polished.
Creating Symmetry
One of the biggest differences between beginner and experienced amigurumi makers is symmetry.
Before sewing each piece:
- Use sewing pins or stitch markers to temporarily hold pieces in place.
- Look at the dragon from the front, side, and top.
- Measure the distance between matching pieces if needed.
- Make small adjustments until everything appears balanced.
A few extra minutes spent positioning the pieces can dramatically improve the finished toy.
Embroidering a Cute Face
Facial details bring your dragon to life.
Simple embroidery can create many different expressions.
For example:
- Slightly raised eyebrows create a curious look.
- Rounded eyebrows make the dragon appear innocent.
- Tiny blush details add extra charm.
- Small stitched nostrils give the face more dimension.
- White eye highlights make safety eyes sparkle.
Experiment with different expressions before tying off your embroidery thread.
Personalize Your Dragon
One of the joys of making your own amigurumi is adding creative touches that make every dragon unique.
Consider trying:
- Pastel colors for a baby dragon
- Bright rainbow shades for a whimsical fantasy dragon
- Forest greens for a woodland dragon
- Blues and teals for an ocean-inspired dragon
- Black and red for a dramatic mythical look
- Metallic embroidery for magical accents
Changing the colors alone can completely transform the character.
Helpful Crochet Tips
A few small habits can make the project much easier:
- Count stitches after every round.
- Use a stitch marker to track the beginning of each round.
- Keep consistent tension throughout the project.
- Leave long yarn tails for easier sewing.
- Weave in ends securely before attaching pieces.
- Brush plush yarn gently with a soft brush if you want an extra fluffy finish.
These simple techniques help produce cleaner, more professional-looking amigurumi.
Common Mistakes to Avoid
Many crocheters run into similar challenges when making plush toys.
Here are a few to watch for:
- Uneven stuffing that creates lumps.
- Misaligned arms or legs.
- Wings attached at different heights.
- Loose sewing that allows pieces to wobble.
- Tight stitches that make plush yarn difficult to work with.
- Forgetting to check symmetry before securing pieces.
Taking your time is often the easiest way to avoid these issues.
Creative Ways to Use Your Finished Dragon
A handmade dragon isn’t just a toy—it can become part of many special moments.
Some favorite ideas include:
- Nursery shelf décor
- Fantasy-themed bedroom decoration
- Birthday gifts
- Baby shower presents
- Handmade holiday gifts
- Craft fair bestsellers
- Photography props
- Collectible amigurumi display pieces
Because every dragon is handmade, each one has its own unique personality and charm.
Looking Ahead
With the crocheting complete and the pieces assembled, your dragon is ready for its final finishing touches. In the last part of this guide, you’ll discover care instructions, frequently asked questions, troubleshooting tips, and simple ways to keep your plush dragon looking beautiful for years to come.
Frequently Asked Questions
Is This Amigurumi Dragon Suitable for Beginners?
Yes! If you’re already comfortable with basic amigurumi techniques like working in continuous rounds, using a magic ring, increasing, and decreasing stitches, this dragon is an enjoyable beginner-friendly project. More advanced details such as sewing the pieces together and embroidery are great skills to practice as you gain confidence.
What Is the Best Yarn for a Plush Dragon?
Plush chenille yarn is a popular choice because it creates a soft, cuddly texture that resembles a stuffed animal. Many crocheters also enjoy using velvet-style yarn for an extra luxurious finish. If you prefer more stitch definition, cotton or acrylic yarn will also work beautifully.
Can I Use Different Colors?
Absolutely! One of the best things about an amigurumi dragon is how customizable it is.
Popular color combinations include:
- Lavender with white accents
- Mint green and cream
- Sky blue with silver details
- Pink and ivory
- Emerald green with gold horns
- Black with crimson wings
- Rainbow pastel shades
Changing the color palette is an easy way to create a dragon that matches your own style or makes a personalized gift.
How Long Does It Take to Crochet?
The time required depends on your experience and the yarn you’re using. Many crocheters complete a plush dragon over a weekend, while beginners may prefer to spread the project over several evenings.
Rather than rushing, enjoy each step and focus on creating neat, even stitches.
Can I Sell Dragons Made From This Design?
Before selling finished items, always check the designer’s licensing terms for the specific pattern you’re using. Many independent designers allow small-scale sales of finished toys with proper credit, while others may have different requirements. Respecting the designer’s wishes helps support the crochet community.
How Do I Keep My Dragon Looking New?
With proper care, your handmade dragon can remain soft and beautiful for years.
Helpful care tips include:
- Spot clean whenever possible.
- Hand wash gently with mild detergent if needed.
- Avoid twisting or wringing the plush fabric.
- Reshape while damp.
- Allow it to air dry completely.
- Store away from direct sunlight to reduce fading.
If your dragon has safety eyes, always inspect them occasionally to ensure they remain securely attached.
Troubleshooting Tips
Even experienced crocheters occasionally run into small issues. Here are a few simple fixes for common problems.
My Stuffing Shows Through the Stitches
This usually means the stitches are too loose or the project is overstuffed. Try using a slightly smaller crochet hook or reduce the amount of stuffing.
My Pieces Look Uneven
Don’t worry—small differences are normal in handmade projects. Count your stitches regularly and compare matching pieces before sewing them together.
My Dragon Won’t Sit Upright
A little extra stuffing in the lower body can improve stability. You can also gently adjust the position of the legs during assembly to create a balanced sitting pose.
My Plush Yarn Is Difficult to See
Many plush yarns hide individual stitches. Good lighting, a stitch marker, and counting carefully at the end of each round can make the process much easier.
Creative Ways to Customize Your Dragon
Once you’ve completed your first dragon, you can experiment with fun variations to make each one unique.
Ideas include:
- Add tiny embroidered freckles.
- Stitch a heart onto the tummy.
- Crochet a removable scarf or cape.
- Make oversized wings for a fantasy-inspired look.
- Add sparkly yarn accents to the horns.
- Create a sleepy dragon with embroidered closed eyes.
- Turn it into a seasonal decoration using holiday colors.
These small details help every dragon develop its own personality.
Why Handmade Dragons Make Wonderful Gifts
Crochet dragons appeal to both children and adults because they combine fantasy with the warmth of a handmade creation.
They’re perfect for:
- Birthday gifts
- Baby showers
- Nursery decorations
- Fantasy fans
- Book lovers
- Holiday presents
- Handmade market stalls
- Personal amigurumi collections
A thoughtfully crafted dragon often becomes a treasured keepsake that brings joy for years.
Final Thoughts
A cuddly dragon is one of the most rewarding projects an amigurumi enthusiast can make. From selecting soft plush yarn to adding the final embroidered details, every step offers an opportunity to practice new techniques while creating something truly memorable.
Whether you’re making your very first fantasy creature or adding another adorable plush to your growing collection, an amigurumi dragon free pattern is a fantastic project that encourages creativity and skill development. Take your time, enjoy the process, and don’t be afraid to experiment with colors and details that make your dragon uniquely yours.
Most importantly, remember that every handmade dragon tells its own story. No two will ever be exactly alike—and that’s part of what makes crochet such a magical craft.