
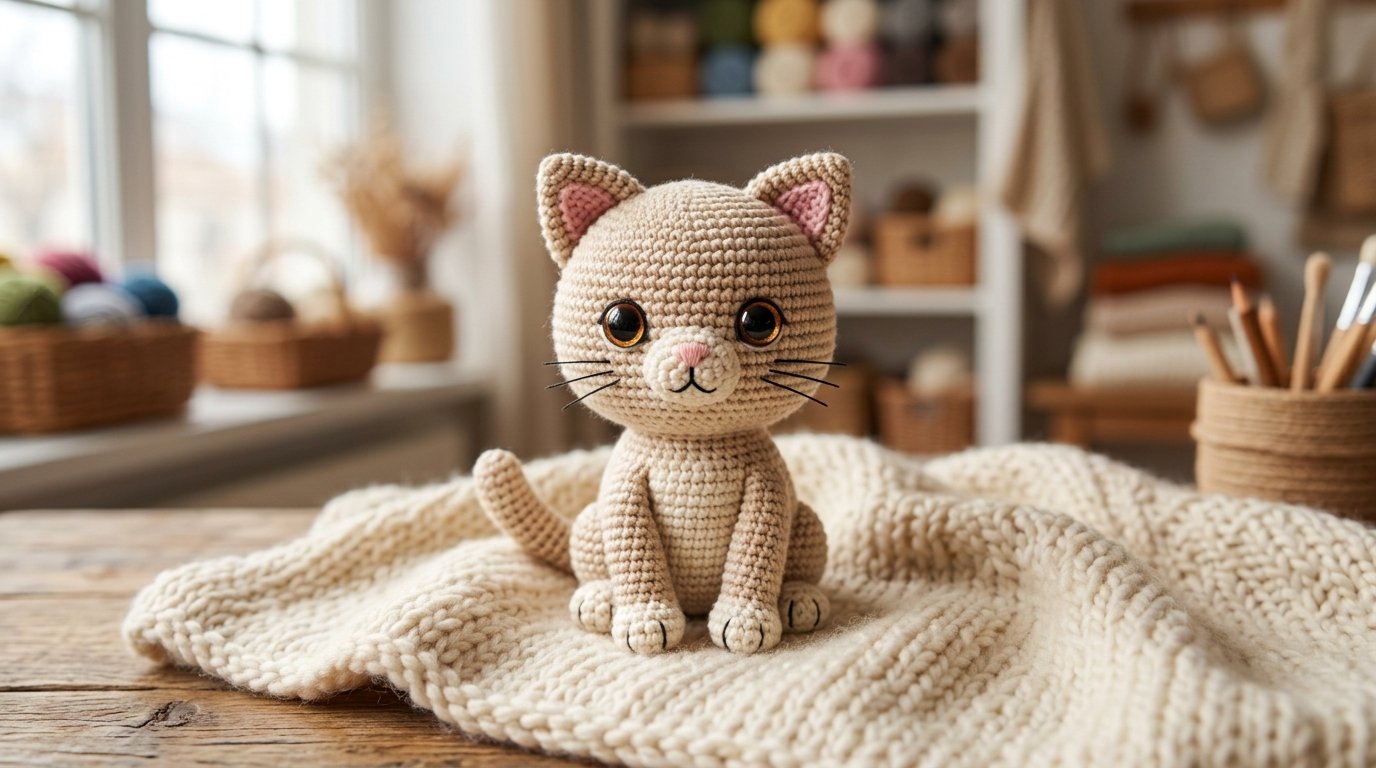
A tiny crochet cat is one of those projects that can turn a few simple stitches into a surprisingly expressive little character. With pointed ears, a rounded body, delicate whiskers, and a sweet embroidered face, this amigurumi makes a lovely handmade gift, desk companion, nursery decoration, or even a miniature bag charm.
This Cat Crochet Pattern Free Amigurumi design is built around compact proportions and clean shaping. The body and head are worked as one main piece, while the ears, legs, arms, and tail are made separately and attached afterward. This construction keeps the finished cat lightweight while giving enough structure for the toy to stand or sit naturally.
For the best result, consistent tension is more important than speed. Small amigurumi can show uneven stitches quite clearly, particularly when worked with cotton yarn. Working slowly and keeping the stuffing evenly distributed will give the finished cat a much more polished appearance.
Table of Contents
ToggleWhy You’ll Love This Crochet Cat
This little feline is a particularly enjoyable project when a quick amigurumi is wanted without sacrificing character.
The finished design features:
- A compact rounded body
- Pointed cat ears
- Small four-legged silhouette
- Curved crochet tail
- Tiny embroidered nose
- Optional safety eyes
- Delicate whiskers
- Easy opportunities for color customization
The pattern also works beautifully as a starting point for creating different cat personalities. A slight change in eye placement can make the same basic design look curious, sleepy, playful, or mischievous.
Skill Level
Easy to Intermediate
This project is suitable for crocheters who are comfortable with basic amigurumi techniques.
You should know how to make:
- Magic rings
- Single crochet
- Increases
- Invisible decreases
- Chains
- Slip stitches
- Basic sewing and embroidery
Finished Size
Using DK-weight cotton yarn with a small crochet hook, the finished cat will be approximately 5–6 inches tall, depending on your tension and the final amount of stuffing.
Using thicker yarn will create a larger plush cat, while sport-weight yarn will produce a smaller and more delicate version.
Materials You’ll Need
Yarn
For a neat, defined amigurumi, cotton yarn works particularly well.
You will need:
- DK or sport-weight cotton yarn for the body
- Small amount of contrasting yarn for the eyes or decorative details
- Black embroidery thread for the nose and facial features
- Fine thread for whiskers
A smooth cotton such as Vita Cotton Lily or YarnArt Jeans is a good choice.
Other Supplies
- 1.75–2 mm crochet hook
- 6 mm safety eyes
- Polyester fiberfill
- Tapestry needle
- Sewing needle
- Stitch marker
- Scissors
- Sewing pins
For a child-safe version, embroidered eyes can be used instead of safety eyes.
Crochet Abbreviations
- MR – Magic Ring
- ch – Chain
- sc – Single Crochet
- inc – Increase
- dec – Decrease
- sl st – Slip Stitch
- hdc – Half Double Crochet
- dc – Double Crochet
- tr – Treble Crochet
- FLO – Front Loop Only
- BLO – Back Loop Only
- FO – Fasten Off
Work in continuous rounds unless the instructions specifically tell you to join with a slip stitch.
Pattern Notes Before Starting
Small amigurumi require fairly tight tension. If the stuffing is visible between stitches, change to a smaller hook.
Keep a stitch marker in the first stitch of every round.
When stuffing the body, add fiberfill gradually. Push small amounts into the narrow sections first and then build up the main body. This prevents hollow areas and helps the cat maintain a smooth silhouette.
Do not pack the head or body excessively. The fabric should feel firm but still have enough flexibility to shape naturally.
Cat Body and Head
The main body is worked continuously from the lower section upward, eventually transitioning into the head. This reduces the amount of sewing required and gives the cat a smooth neck area.
Use your main body color.
Body Base
Round 1
Chain 8.
Beginning in the second chain from the hook, work:
6 sc, 3 sc in the final chain, 5 sc along the opposite side of the chain, inc. (16)
This creates an elongated oval foundation.
Round 2
Increase around the curved ends while working single crochet along the sides.
(20)
Round 3
Work (3 sc, inc) around.
(25)
Round 4
Work (4 sc, inc) around.
(30)
The piece should now resemble a small oval rather than a flat circle.
Rounds 5–9
Sc evenly around.
Keep your tension consistent during these rounds because they establish the main body length.
Shaping the Body
Round 10
Work (4 sc, dec) around.
Round 11
Sc around.
Round 12
Work (3 sc, dec) around.
Begin adding fiberfill.
Concentrate the stuffing around the belly while keeping the upper portion slightly softer. This gives the cat a rounded body without making it look overly inflated.
Round 13
Sc around.
Round 14
Work (2 sc, dec) around.
The body should now begin narrowing toward the neck.
Forming the Head
Continue directly from the body.
Round 15
Work (2 sc, inc) around.
Round 16
Work (3 sc, inc) around.
Round 17
Work (4 sc, inc) around.
The head should now become noticeably wider than the neck.
Rounds 18–22
Sc evenly around.
Begin shaping the cheeks with your fingers as you stuff.
A useful designer trick is to add a little more fiberfill to the left and right sides of the head rather than concentrating it only in the center. This creates the soft rounded cheek structure that makes small cat amigurumi look much more expressive.
Eye Placement
Position the safety eyes approximately 7–8 stitches apart, depending on your tension and the exact shape of your head.
Place them around the middle portion of the head rather than too high.
Before locking the backs into place, look at the cat from the front.
If the eyes appear uneven, remove and reposition them now. A difference of even one stitch can noticeably change the expression on a small amigurumi.
For a more decorative version, crochet small eye-colored circles and attach them beneath the safety eyes.
Closing the Head
Round 23
Work (4 sc, dec) around.
Round 24
Work (3 sc, dec) around.
Add more stuffing as needed.
Round 25
Work (2 sc, dec) around.
Round 26
Work (1 sc, dec) around.
Final Round
Continue decreasing until only a small opening remains.
Add the final small amount of stuffing, then fasten off.
Use a tapestry needle to close the remaining opening and pull the yarn tail inside the head.
Arms — Make 2
Using the body color:
Round 1
Make a Magic Ring with 6 sc. (6)
Round 2
(1 sc, inc) around. (9)
Rounds 3–8
Sc around. (9)
Lightly stuff the lower portion.
Do not overstuff the arms because they should remain relatively slim.
Flatten the opening and close it with several stitches through both layers.
Leave a long tail for sewing.
Legs — Make 2
The legs are slightly wider than the arms to provide stability.
Round 1
Magic Ring with 6 sc. (6)
Round 2
Inc around. (12)
Round 3
(1 sc, inc) around. (18)
Round 4
Sc around.
Round 5
(1 sc, dec) around. (12)
Rounds 6–8
Sc around. (12)
Lightly stuff the feet.
Flatten the upper opening and sew it closed.
Leave a long yarn tail for attaching the legs to the body.
Ears — Make 2
The ears are what immediately give this amigurumi its feline character.
Using the main body color:
Round 1
Make a Magic Ring with 4 sc. (4)
Round 2
Inc in each stitch. (8)
Round 3
(1 sc, inc) around. (12)
Round 4
Sc around. (12)
Round 5
(2 sc, dec) around. (9)
Fasten off and leave a sewing tail.
Flatten the ear slightly between your fingers. Pinch the lower portion before sewing to create a more natural triangular shape.
For a two-tone cat, add a small inner-ear triangle using pink, cream, or a lighter shade.
Tail
The tail can be made straight or gently curved depending on how it is attached.
Using the body color:
Round 1
Magic Ring with 6 sc. (6)
Rounds 2–18
Sc around. (6)
Do not overstuff the tail.
Instead, add only a tiny amount of fiberfill near the base if additional structure is needed.
Fasten off and leave a long sewing tail.
Curve the tail gently and pin it to the back of the body before sewing.
Facial Details
The face is where your little crochet cat develops its personality.
Nose
Using black embroidery thread, stitch a small triangular nose at the center of the face, slightly below the eyes.
Two or three carefully placed stitches are usually enough.
From the bottom of the nose, add a short vertical stitch and then create a tiny curved mouth.
Whiskers
Use fine embroidery thread for the whiskers.
Create two or three delicate whiskers extending from each side of the muzzle.
Avoid pulling the thread too tightly. Slightly loose whiskers look softer and more natural.
Assembly
Before permanently attaching anything, pin all pieces into position.
Ears
Attach the ears near the top of the head, keeping approximately equal spacing from the center.
Angle them slightly outward for an alert expression or slightly inward for a sweeter appearance.
Arms
Sew the arms onto the sides of the body around the upper-middle section.
Make sure both arms are positioned at the same height.
Legs
Attach the legs toward the lower body.
Place the cat on a flat surface before completing the stitches to ensure it sits evenly.
Tail
Sew the tail onto the center back of the body.
A gentle curve makes the finished cat look much more natural than a completely rigid tail.
Expert Finishing Tips
Check proportions before sewing. Place every component with pins first. This lets you adjust the expression and posture without having to undo stitches.
Stuff in layers. Add fiberfill gradually instead of creating one large compressed mass. This produces smoother curves.
Keep the ears symmetrical. Measure their distance from the center of the head visually before sewing.
Don’t make the whiskers too long. Fine, delicate whiskers generally look more realistic on a small amigurumi.
Use tight tension. This is especially important when working with cotton yarn and a small hook because gaps can become very noticeable.
Creative Variations
The basic cat can become almost any feline character with a few simple changes.
Try creating:
- Orange tabby stripes
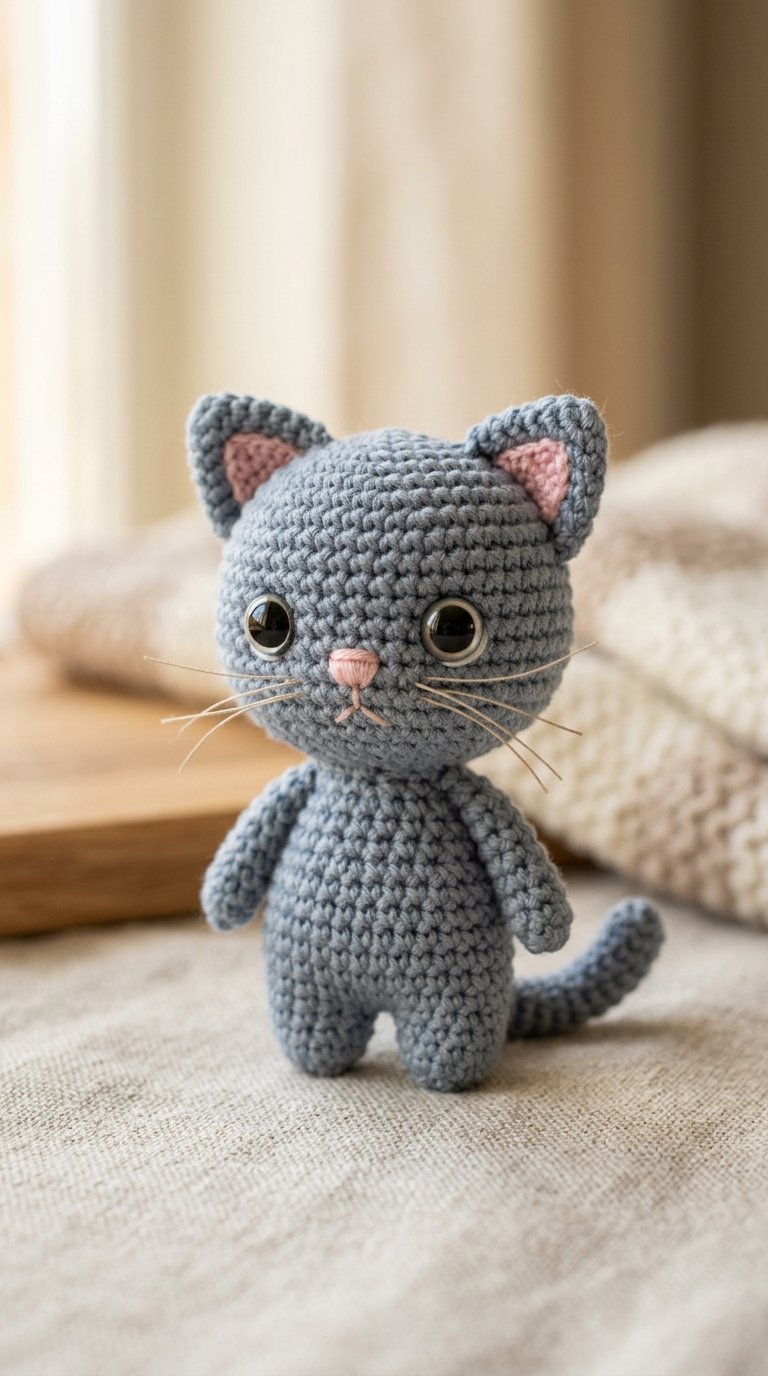
- Gray British Shorthair-inspired colors
- Black cat with bright embroidered eyes
- White kitten with pink ears
- Calico patches
- Siamese-inspired coloring
- Tuxedo cat
- Sleepy cat with embroidered closed eyes
Tiny accessories can also completely transform the finished toy. Try a miniature collar, bow, flower, scarf, or tiny crochet bell.
Care Instructions
For cotton versions, gently hand wash the finished cat with cool water and mild soap.
Avoid harsh scrubbing around embroidered facial details.
Press excess water out with a towel and allow the amigurumi to air dry completely.
If safety eyes are used, avoid exposing the toy to high temperatures or aggressive washing.
Frequently Asked Questions
Is this cat crochet pattern beginner-friendly?
Yes. The project uses basic amigurumi techniques, although beginners should take extra care with the shaping and assembly.
What yarn is best for this cat?
DK-weight cotton creates excellent stitch definition and is particularly suitable for a small amigurumi. Plush yarn can also be used to make a softer, larger version.
Can I make the cat larger?
Yes. Changing the yarn weight and hook size will change the finished dimensions. Keep the hook appropriately sized so your stitches remain tight.
Can I use embroidered eyes?
Absolutely. Embroidered eyes are a good alternative to safety eyes and allow you to create sleepy, happy, or playful expressions.
How can I make the cat look more realistic?
The biggest difference comes from facial placement. Slightly adjusting the eyes, muzzle, ears, and whiskers can dramatically change the character of the finished cat.
Final Thoughts
This Cat Crochet Pattern Free Amigurumi project is a wonderful way to turn simple crochet stitches into a tiny character with plenty of personality. The compact body, pointed ears, curved tail, and embroidered facial details make it recognizable as a cat while keeping the construction approachable.
The real magic happens during finishing. Take your time positioning the eyes, shaping the cheeks, attaching the ears, and balancing the legs and tail. Those small details can turn an ordinary amigurumi into a polished handmade keepsake.
Once the basic cat is complete, experiment with colors, markings, facial expressions, and tiny accessories. A single pattern can easily become an entire collection of unique handmade cats, each with its own personality and style.