
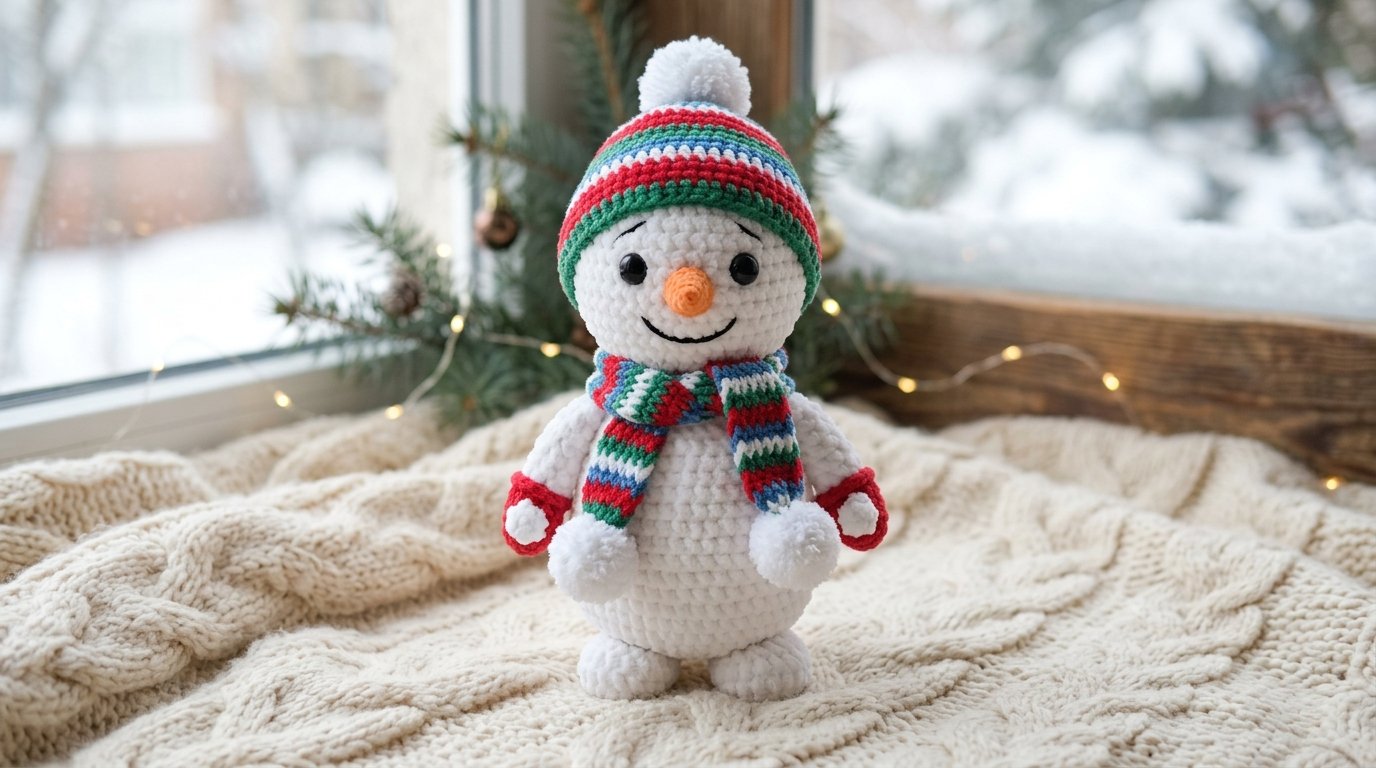
There is something especially satisfying about crocheting a snowman. Unlike a traditional snowman that disappears when winter ends, a handmade amigurumi snowman can become a lasting seasonal decoration, gift, or cozy companion.
This Snowman Amigurumi Pattern uses soft plush yarn to create a generously sized snowman with a rounded head and body, tiny mitten-style arms, sturdy legs, a carrot nose, and a complete winter outfit. The finished snowman measures approximately 25–30 cm, depending on yarn choice, hook size, and individual crochet tension.
The construction is intentionally straightforward: the head and body are worked as one continuous piece, while the arms, legs, carrot nose, hat, scarf, and pompoms are created separately and assembled afterward.
Materials You’ll Need
Yarn
For the snowman’s soft, velvety appearance, plush yarn is the best choice.
- White plush yarn: Approximately 1½ skeins of Himalaya Dolphin Baby or YarnArt Dolce, 100 g/120 m
- Additional plush yarn: Approximately ½ skein for the hat, scarf, and mittens
- Orange cotton yarn: YarnArt IDEAL or a similar 50 g/140 m yarn for the carrot nose
- Black cotton or semi-cotton yarn: For embroidering the smile
The exact amount can vary depending on tension and how firmly the snowman is stuffed.
Tools and Notions
- 4 mm crochet hook
- 5 mm crochet hook
- 3 mm crochet hook for the cotton details
- 10–12 mm safety eyes
- Polyester fiberfill or toy stuffing
- Tapestry needle
- Sewing needle
- Scissors
- Optional decorative buttons
Crochet Abbreviations
- MR – Magic Ring
- sc – Single Crochet
- inc – Increase
- dec – Decrease
- st – Stitch
- sl st – Slip Stitch
- ch – Chain
- hdc – Half Double Crochet
- dc – Double Crochet
- tr – Treble Crochet
- FLO – Front Loop Only
- BLO – Back Loop Only
When a number appears after a repeated instruction, work that sequence the indicated number of times.
Snowman Head and Body
The head and body are crocheted together as one continuous piece in a spiral. This is one of the most important construction features of the design because it eliminates a separate neck seam and gives the snowman a naturally rounded silhouette.
Work with white plush yarn.
Round 1
Make a magic ring and work 6 sc into the ring. (6)
Round 2
Work 6 inc around. (12)
Round 3
Increase in every stitch. (24)
Round 4
Work (1 sc, inc) around. (30)
Round 5
Work (4 sc, inc) around. (36)
Round 6
Work (5 sc, inc) around. (42)
Round 7
Work (6 sc, inc) around. (48)
Round 8
Work (7 sc, inc) around. (54)
Round 9
Work (8 sc, inc) around. (60)
The first nine rounds create the widest portion of the head.
Rounds 10–15
Work 60 sc around for six rounds.
At this stage, begin adding stuffing gradually. Do not wait until the end because it becomes much harder to distribute fiberfill evenly inside a large plush piece.
Round 16
Work (8 sc, dec) around. (54)
Rounds 17–18
Work 54 sc around.
Round 19
Work (7 sc, dec) around. (48)
Round 20
Work 48 sc.
Round 21
Work (6 sc, dec) around. (42)
Round 22
Work 42 sc.
Round 23
Work (5 sc, dec) around. (36)
Rounds 24–25
Work 36 sc around.
Round 26
Work (4 sc, dec) around. (30)
Round 27
Work (1 sc, dec) around. (20)
Round 28
Work 20 sc.
This narrow section forms the transition between the head and lower body.
Round 29
Work an increase in every stitch. (40)
The dramatic increase creates the rounded body section.
Rounds 30–37
Work 40 sc around for eight rounds.
Continue stuffing firmly as you work. The body should feel solid enough to support the finished snowman but should not become so tightly packed that the stitches stretch apart.
Round 38
Work (6 sc, dec) around. (35)
Round 39
Work (5 sc, dec) around. (30)
Round 40
Work (4 sc, dec) around. (25)
Round 41
Work (3 sc, dec) around. (20)
Round 42
Work (2 sc, dec) around. (15)
Round 43
Work (1 sc, dec) around. (10)
Round 44
Work 5 dec. (5)
Add any final stuffing needed before closing.
Cut the yarn, leaving enough length to close the opening. Using a tapestry needle, weave through the remaining stitches, pull the opening closed, secure the yarn, and hide the tail inside the body.
Adding the Snowman’s Face
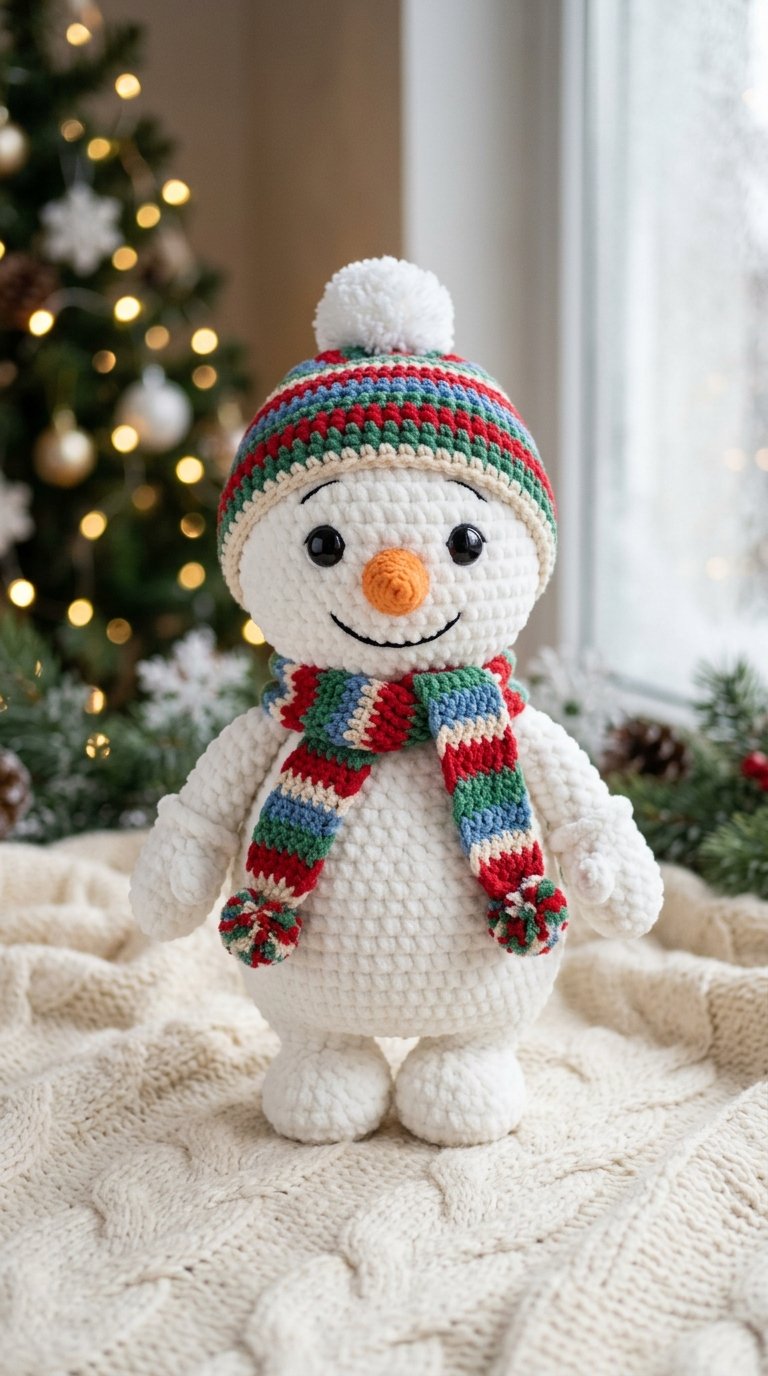
The face is deliberately simple, which works especially well with plush yarn.
Position the safety eyes between approximately Rounds 10 and 11, counting from the top of the head.
Before permanently securing them, check their placement from several angles. They should sit level and have enough space between them for the carrot nose and embroidered smile.
For a child-safe alternative, embroider the eyes instead of using safety eyes.
Using black cotton or semi-cotton yarn, embroider a small curved smile beneath the nose.
Optional decorative buttons can be sewn onto the belly once the body is complete.
Snowman Arms With Mittens
Make two identical arms.
Begin with the contrasting yarn chosen for the mittens.
Round 1
6 sc into a magic ring. (6)
Round 2
6 inc. (12)
Round 3
12 inc. (24)
Rounds 4–6
Work 24 sc for three rounds.
Round 7
Work 10 sc, create a popcorn-style finger detail using 5 dc, then work 13 sc. (24)
Round 8
Work (2 sc, dec) around. (18)
Rounds 9–10
Work 18 sc around.
Round 11
Work 18 sc through the front loops only.
Fasten off the contrasting yarn and secure the end.
Attach the white yarn to the remaining loops created by the FLO round.
Round 12
Work (1 sc, dec) around. (12)
Rounds 13–21
Work 12 sc around.
Do not overstuff the arms. A lightly filled arm remains softer and hangs more naturally against the body.
Fold the opening in half and crochet the two sides together with 6 sc.
Leave a long tail for sewing.
Repeat for the second arm.
Attaching the Arms
Position the arms on either side of the body around the transition into the lower body section. The source construction places them between approximately Rounds 28 and 29, with about five columns of stitches between their attachment areas.
Pin both arms first and check their height before sewing permanently.
Snowman’s Legs
Make two identical legs.
Use the contrasting yarn if you want the feet to coordinate with the mittens, or use white yarn for a monochrome snowman.
Round 1
6 sc into a magic ring. (6)
Round 2
6 inc. (12)
Round 3
12 inc. (24)
Rounds 4–9
Work 24 sc around.
Stuff the legs firmly enough to give them stability.
Fold each leg in half and crochet the opening closed through both layers.
Leave a long yarn tail for sewing.
Attaching the Legs
The legs are positioned toward the lower portion of the body so the completed snowman can stand upright.
Pin both legs first and place the snowman on a flat surface. Adjust their position until the body sits evenly without leaning.
Once the placement is correct, sew them securely into position.
Crochet Carrot Nose
The carrot nose is worked separately in orange cotton yarn.
Round 1
Make a magic ring and work 6 sc. (6)
Rounds 2–3
Work 6 sc around.
Round 4
Work (1 sc, inc) three times. (9)
Round 5
Work 9 sc.
Round 6
Work (2 sc, inc) three times. (12)
Round 7
Work 12 sc.
Round 8
Work (3 sc, inc) three times. (15)
Round 9
Work (4 sc, inc) three times. (18)
Round 10
Work 18 sc.
Add only a small amount of stuffing so the carrot maintains its pointed character.
Fasten off, leaving a long sewing tail.
Position the carrot centrally between the eyes and sew it firmly to the face.
Crochet Hat
The hat adds most of the snowman’s winter personality.
Use the contrasting plush yarn.
Round 1
6 sc into a magic ring. (6)
Round 2
6 inc. (12)
Round 3
12 inc. (24)
Rounds 4–6
Work 24 sc around.
Round 7
Work (2 sc, dec) around. (18)
Rounds 8–9
Work 18 sc.
The hat should now begin forming a snug cap.
For the lower ribbed section, use raised front- and back-post double crochet stitches to create an elastic-looking band.
Ribbed Band
Work approximately three rounds of alternating raised front and back double crochet stitches.
Check the hat against the snowman’s head before fastening off. Plush yarn can behave differently depending on tension, so checking the fit is more reliable than relying solely on measurements.
Fasten off and weave in the end.
Hat Pom-Pom
Use the same yarn as the hat.
Round 1
6 sc into a magic ring. (6)
Round 2
6 inc. (12)
Round 3
12 inc. (24)
Rounds 4–6
Work 24 sc around.
Round 7
Work (2 sc, dec) around. (18)
Round 8
Work (1 sc, dec) around. (12)
Lightly stuff the pom-pom.
Leave a long tail and sew the opening closed.
Attach the pom-pom securely to the top of the hat.
Scarf Pompoms
Make two.
Round 1
6 sc into a magic ring. (6)
Round 2
6 inc. (12)
Round 3
Work (1 sc, inc) around. (18)
Rounds 4–6
Work 18 sc around.
Round 7
Work (1 sc, dec) around. (12)
Round 8
Work 6 dec. (6)
Do not completely close the opening.
Add a small amount of stuffing and leave a long tail for attaching the pom-pom to the scarf.
Repeat for the second end.
Making the Scarf
The scarf is designed as a long flexible piece that can be wrapped naturally around the snowman’s neck.
Work the scarf using the chosen two-color combination and a hollow-cord technique.
Continue until the scarf reaches approximately 120 cm in length.
Thread each end into the opening of its corresponding pom-pom.
Pull the opening closed around the scarf end and sew securely.
Once finished, wrap the scarf around the snowman’s neck and arrange the ends naturally.
Final Assembly and Finishing
Before considering the snowman finished, inspect every attachment point.
The arms should sit at equal heights, the legs should allow the snowman to stand securely, and the carrot nose should be centered between the eyes.
Check the hat fit and make sure the scarf hangs naturally without pulling the head or arms out of position.
Finally:
- Secure all loose yarn ends.
- Hide yarn tails inside the plush body where possible.
- Check that the eyes are firmly attached.
- Reinforce buttons if they are being used.
- Shape the head and body gently with your hands.
- Brush or smooth the plush yarn fibers if necessary.
Avoid pulling plush stitches aggressively during finishing because excessive tension can distort the soft surface.
Expert Tips for a Better Snowman
Stuff Gradually
Large plush amigurumi benefit enormously from gradual stuffing. Add fiberfill every few rounds and rotate the piece while shaping it.
Keep the Body Firm
The lower body needs enough structure to support the snowman. If it is too loosely stuffed, the finished toy may lean or collapse.
Shape Before Sewing
Pin the legs and arms before attaching them permanently. This gives you an opportunity to check symmetry and make sure the snowman stands properly.
Keep the Face Simple
With plush yarn, elaborate facial embroidery can easily become visually heavy. A small smile and cleanly positioned eyes are usually enough to create a charming expression.
Don’t Overstuff the Accessories
The mittens, scarf pompoms, and carrot nose should retain their intended shapes. Too much stuffing can make them stiff and oversized.
Customize Your Snowman
One of the best things about this design is how easily it can be personalized.
Try:
- Red and white Christmas colors
- Green and cream winter tones
- Blue and silver for a frosty look
- A striped scarf
- Embroidered snowflakes
- Decorative buttons
- A different hat color
- A sleepy embroidered expression
- Pink cheeks made with embroidery or blush
You can also change the scarf length depending on whether you want it loosely draped or wrapped several times around the neck.
Final Thoughts
This Snowman Amigurumi Pattern is a wonderfully cozy winter project for crocheters who enjoy working with plush yarn and creating character-driven decorations.
The continuous head-and-body construction gives the snowman a smooth silhouette, while the separate mittens, legs, carrot nose, hat, scarf, and pompoms provide plenty of opportunities for customization.
The most important part is not rushing the finishing process. Take time with the stuffing, facial placement, and positioning of the limbs. Those details are what transform a collection of crocheted pieces into a balanced, expressive snowman.
Once complete, this soft winter character can become a festive decoration, handmade Christmas gift, or a seasonal keepsake that comes out year after year.