
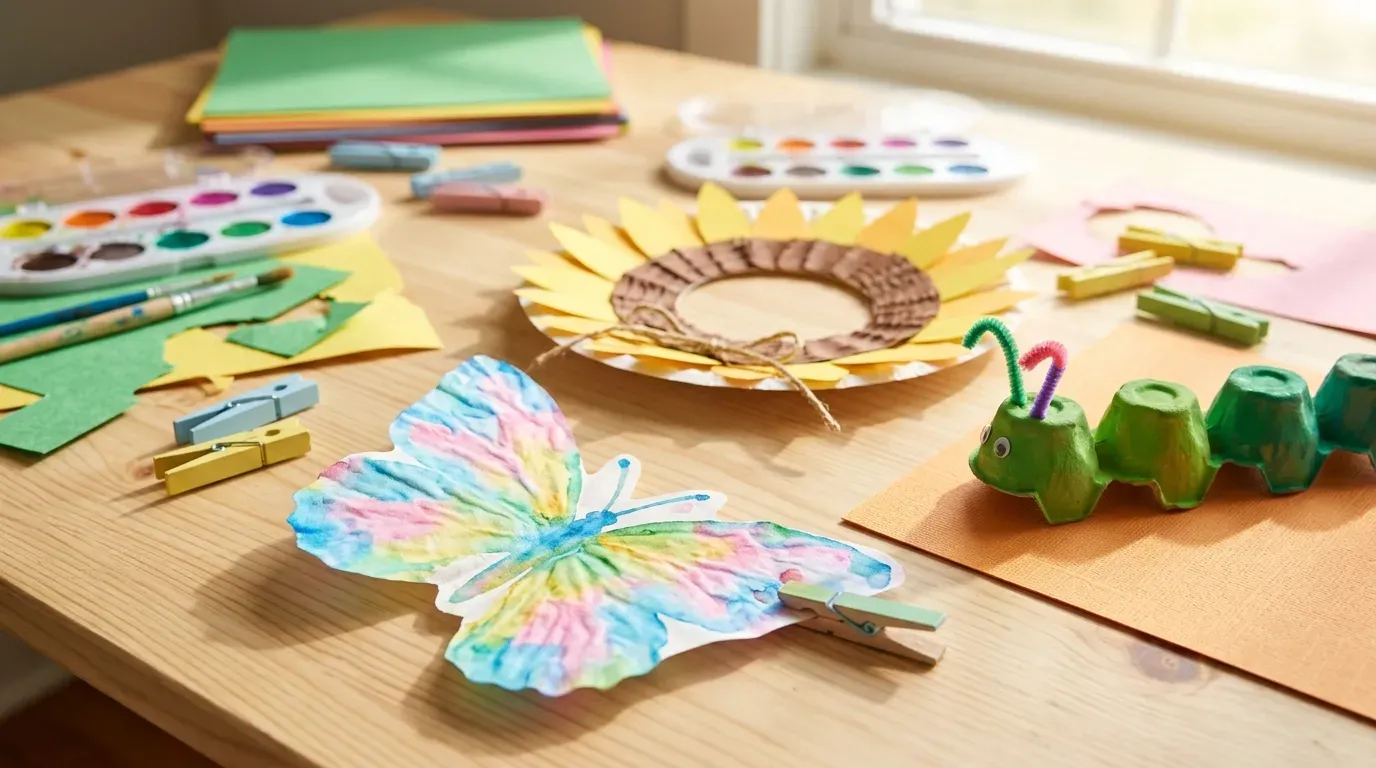
Springtime brings brighter days, blooming gardens, and the perfect excuse to gather crafting supplies for an afternoon of hands-on creativity. You don’t need expensive craft kits or complicated tutorials to keep little hands happily engaged. Here are 12 easy spring crafts for kids that are super fun to make using inexpensive household items, recycled materials, and colorful paper on a family-friendly budget.
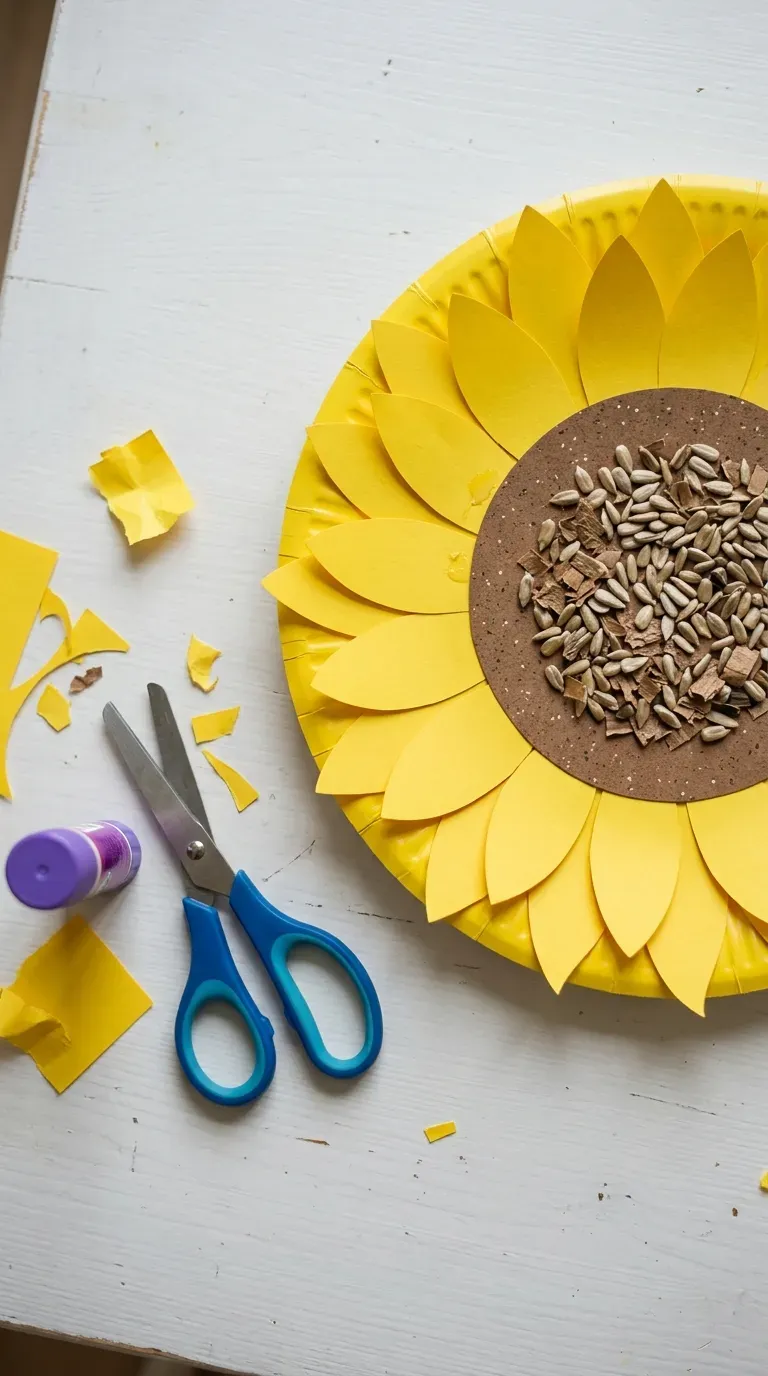
1. Paper Plate Sunflower Wreath with Yellow Cardstock Petals
Cut out the center of a sturdy paper plate to create a round wreath ring, then glue overlapping teardrop-shaped yellow construction paper petals around the rim. Fill the inner circle with glued brown tissue paper squares or real sunflower seeds.
Why it works: Paper plate wreaths help younger children practice bilateral scissor skills and repetitive pattern gluing. The cheerful burst of yellow and textured seed center creates bright, ready-to-hang door decor for spring.
Budget guide: $3–$6 for a pack of paper plates, yellow cardstock, and school glue.
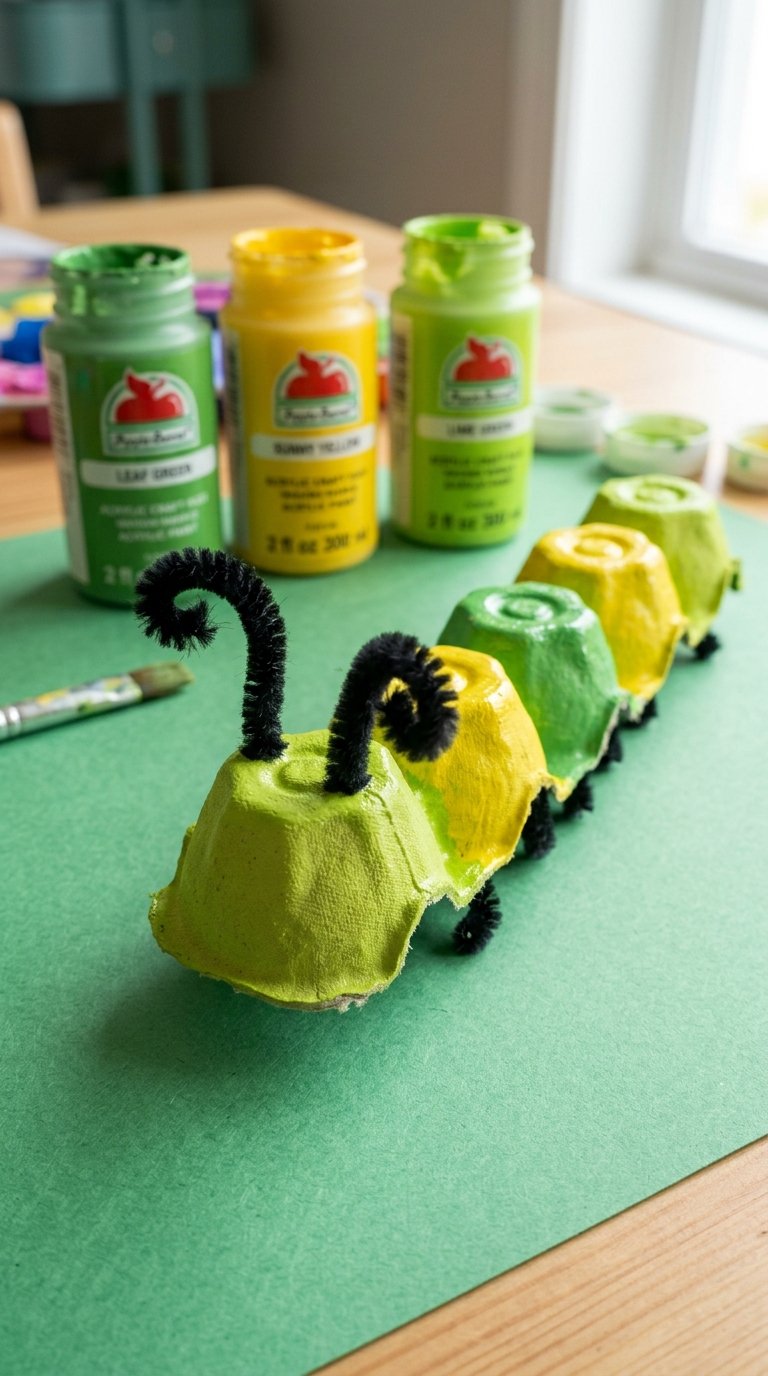
2. Egg Carton Caterpillar Garden with Painted Segments
Cut a recycled cardboard egg carton into a single strip of four to six connected cups, then paint each segment with vibrant washable green and yellow acrylics. Poke two small holes in the front cup to insert twisted black pipe cleaner antennae.
Why it works: Upcycling egg cartons teaches kids about eco-friendly crafting while offering a bumpy, tactile surface that is easy for small hands to paint. The three-dimensional caterpillar shape makes a charming toy for imaginative play.
Budget guide: $0 if using an empty egg carton from home, $4–$8 for washable craft paint and a pack of pipe cleaners.
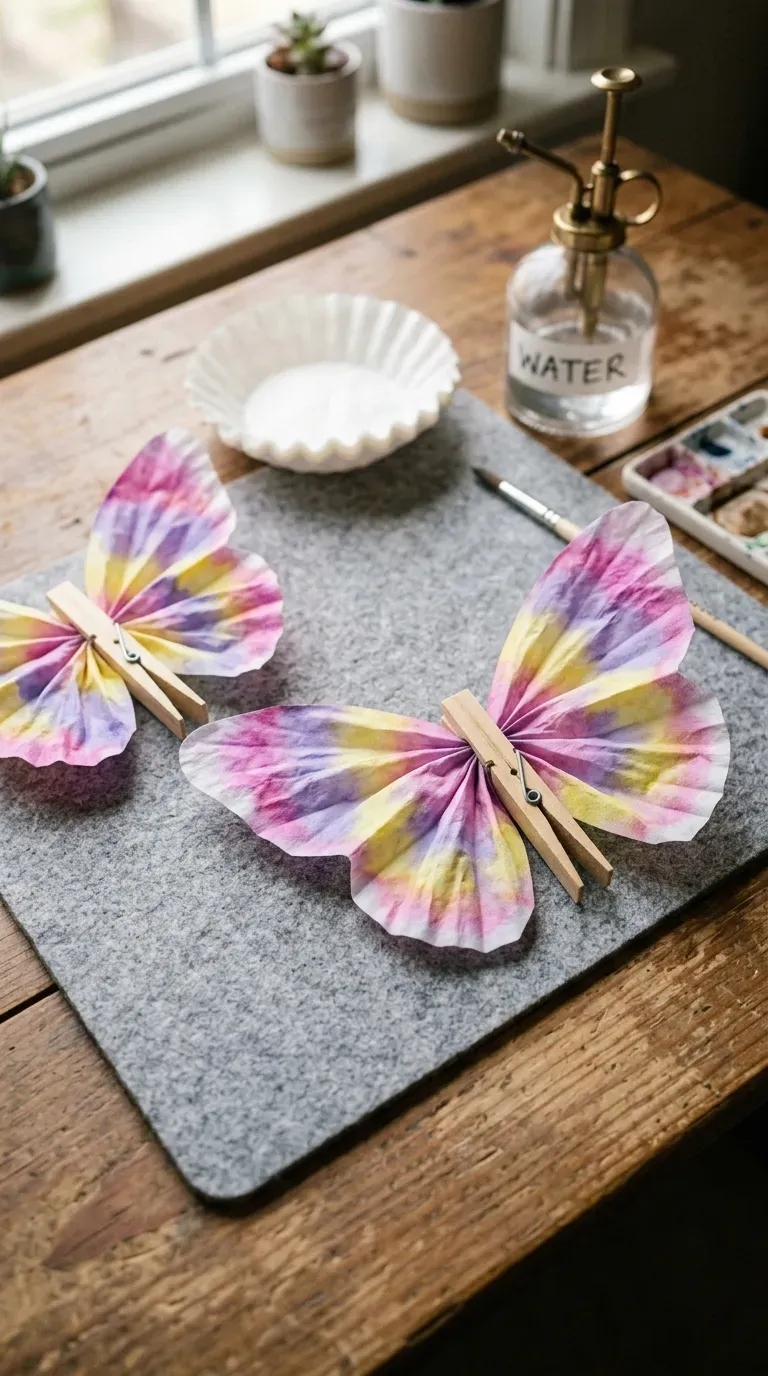
3. Coffee Filter Watercolor Butterflies with Clothespins
Drip vibrant liquid watercolors or washable markers over circular coffee filters, spray them lightly with water to blend the colors, and let them dry into a tie-dye pattern. Pinch the center of the filter and clip it with a painted wooden clothespin to form butterfly wings.
Why it works: Coffee filter chromatography is a magical science-meets-art experiment that delights kids of all ages. The porous paper effortlessly absorbs colors, resulting in ethereal, translucent wings that flutter when displayed in windows.
Budget guide: $2–$5 for a pack of 100 coffee filters and a bag of wooden clothespins.
4. Salt Dough Flower Impressions with Pastel Paint
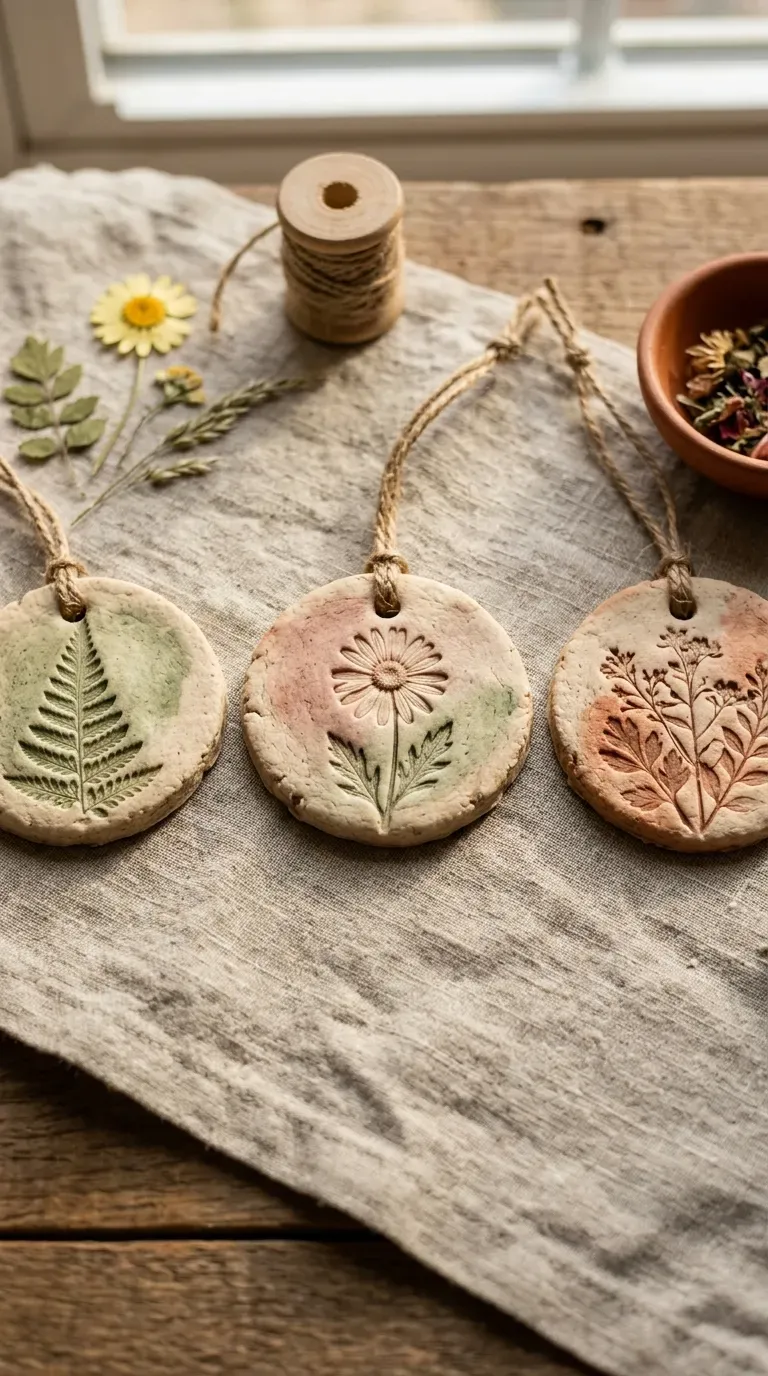
Mix flour, salt, and warm water to form smooth salt dough, roll it out into circular medallions, and press fresh spring leaves and garden blossoms into the dough to create stamped reliefs. Bake the dough medallions until firm, then brush them with diluted pastel watercolor or acrylic paint.
Why it works: Sensory salt dough gives children hands-on tactile experience with rolling, kneading, and nature exploration. The baked clay ornaments preserve botanical textures and double as sweet handmade gifts for Mother’s Day.
Budget guide: $2–$4 for household pantry ingredients (flour and salt), $0 for collected backyard flowers and leaves.
5. Beaded Pipe Cleaner Dragonfly Suncatchers
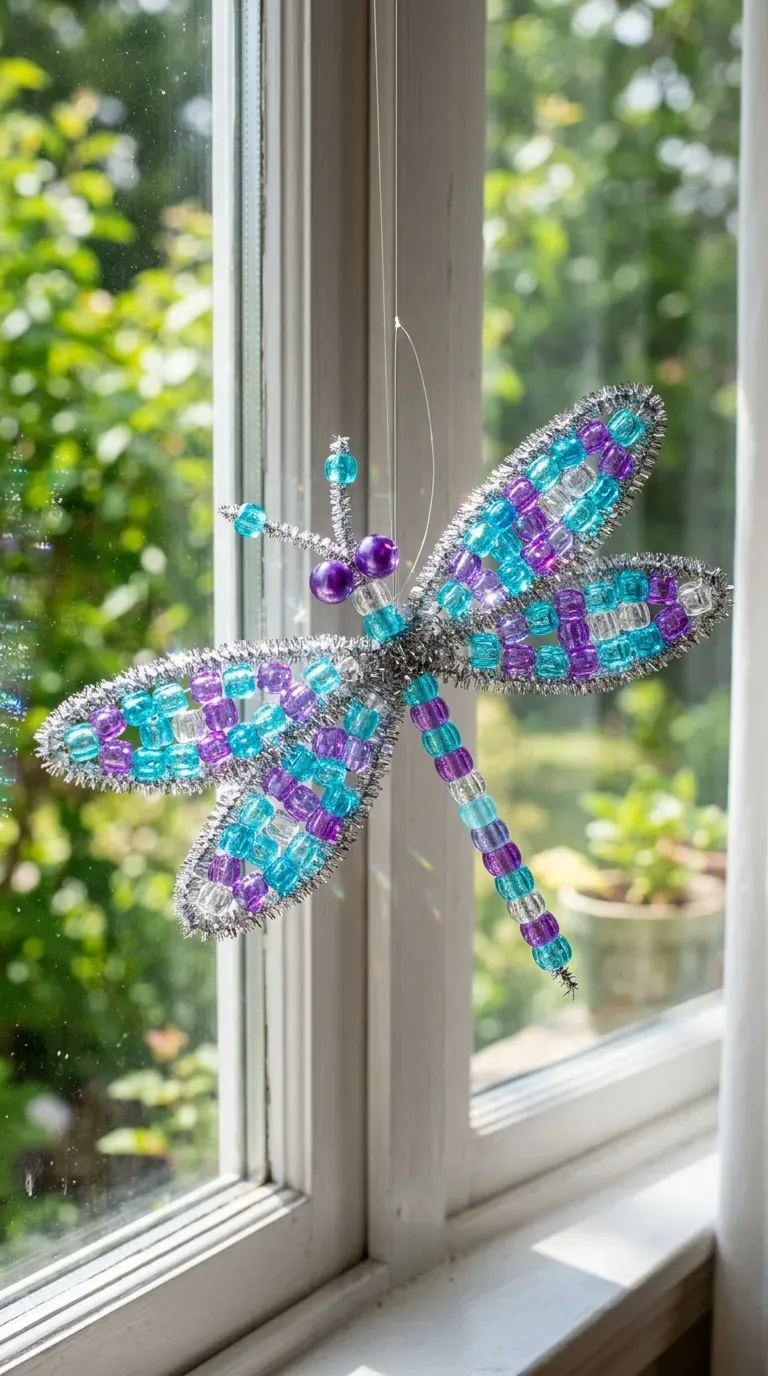
Thread translucent plastic pony beads onto a folded pipe cleaner body to create a segmented dragonfly tail, then twist two metallic pipe cleaners into figure-eight wing shapes. Tie a loop of clear nylon monofilament at the top to hang the dragonfly in a sunny window.
Why it works: Stringing pony beads builds fine motor coordination and hand-eye dexterity in young children. When placed in bright windows, the faceted translucent beads catch sunlight and cast shimmering, colorful reflections across the room.
Budget guide: $4–$7 for a bulk container of colorful translucent pony beads and sparkly pipe cleaners.
6. Handprint Paper Cup Daffodil Bouquet in a Mason Jar
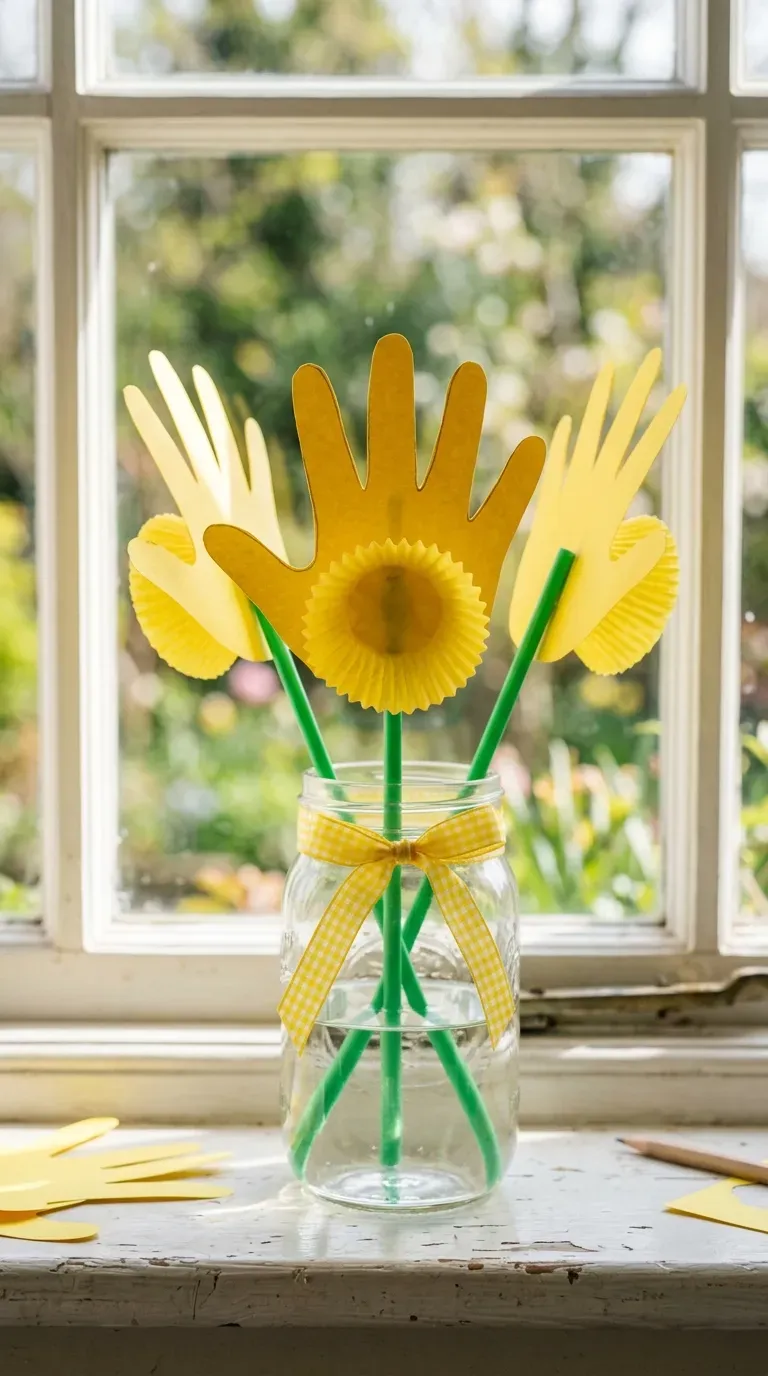
Trace children’s handprints onto bright yellow paper, cut them out to form flower petals, and glue a yellow paper baking cup or small portion cup in the center. Attach green paper straw stems and arrange the handprint daffodils inside a ribbon-tied glass mason jar.
Why it works: Handprint crafts capture a memorable snapshot of a child’s growth that parents cherish for years. The 3D cupcake liner center adds realistic depth to the flower, creating an adorable, lasting springtime bouquet that never wilts.
Budget guide: $4–$8 for yellow construction paper, yellow cupcake baking cups, and paper straws.
7. Tissue Paper Bleeding Mosaic Suncatcher on Wax Paper
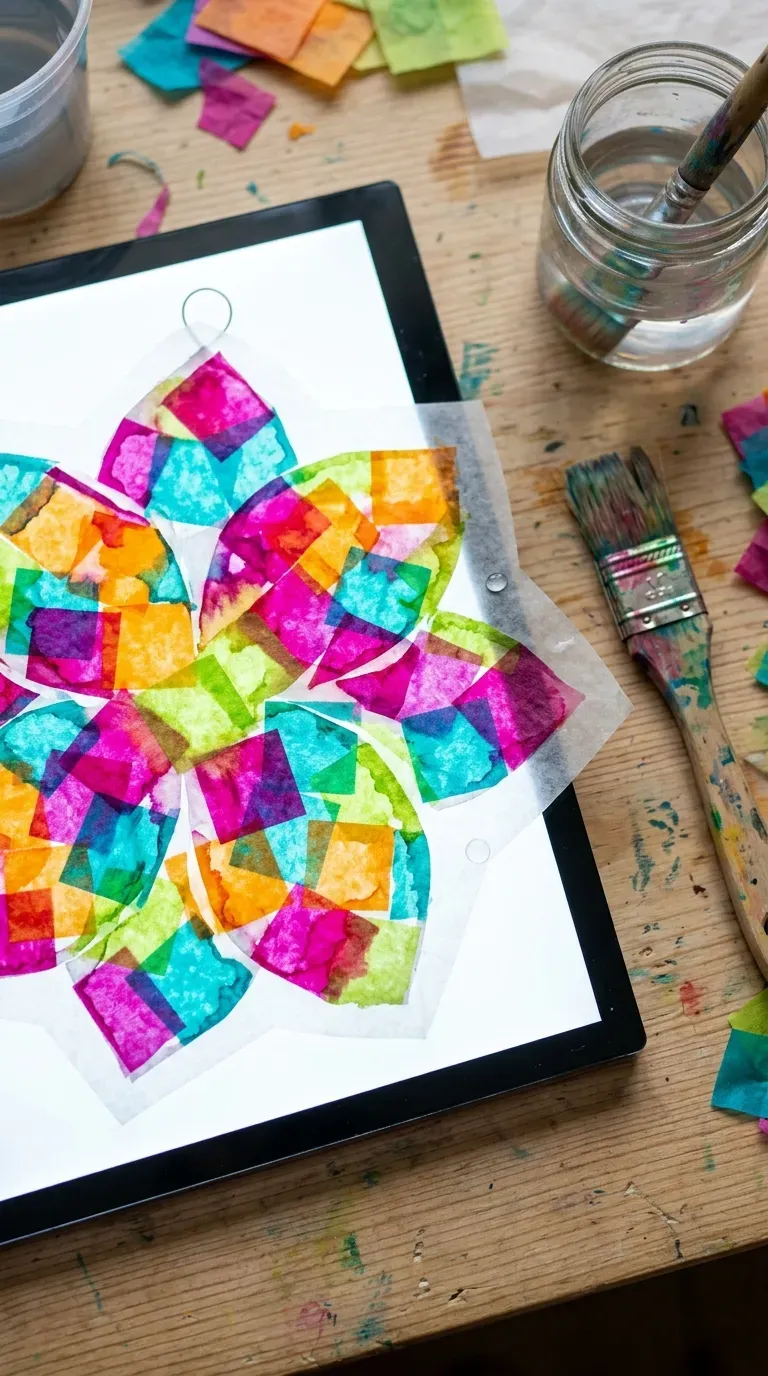
Tear vibrant squares of bleeding art tissue paper, lay them across a sheet of wax paper or watercolor cardstock, and brush over them with a water-dampened paintbrush. Once the dyes bleed together, peel away the dry tissue to reveal a luminous stained-glass mosaic.
Why it works: Bleeding tissue paper offers an easy, low-mess alternative to traditional paints while delivering intense, luminous watercolor effects. Cutting the finished sheet into flower or butterfly shapes makes dazzling window art.
Budget guide: $3–$6 for a multi-color pack of bleeding art tissue paper and a roll of wax paper.
8. Painted Terracotta Mini Flower Pots with Spring Seedlings
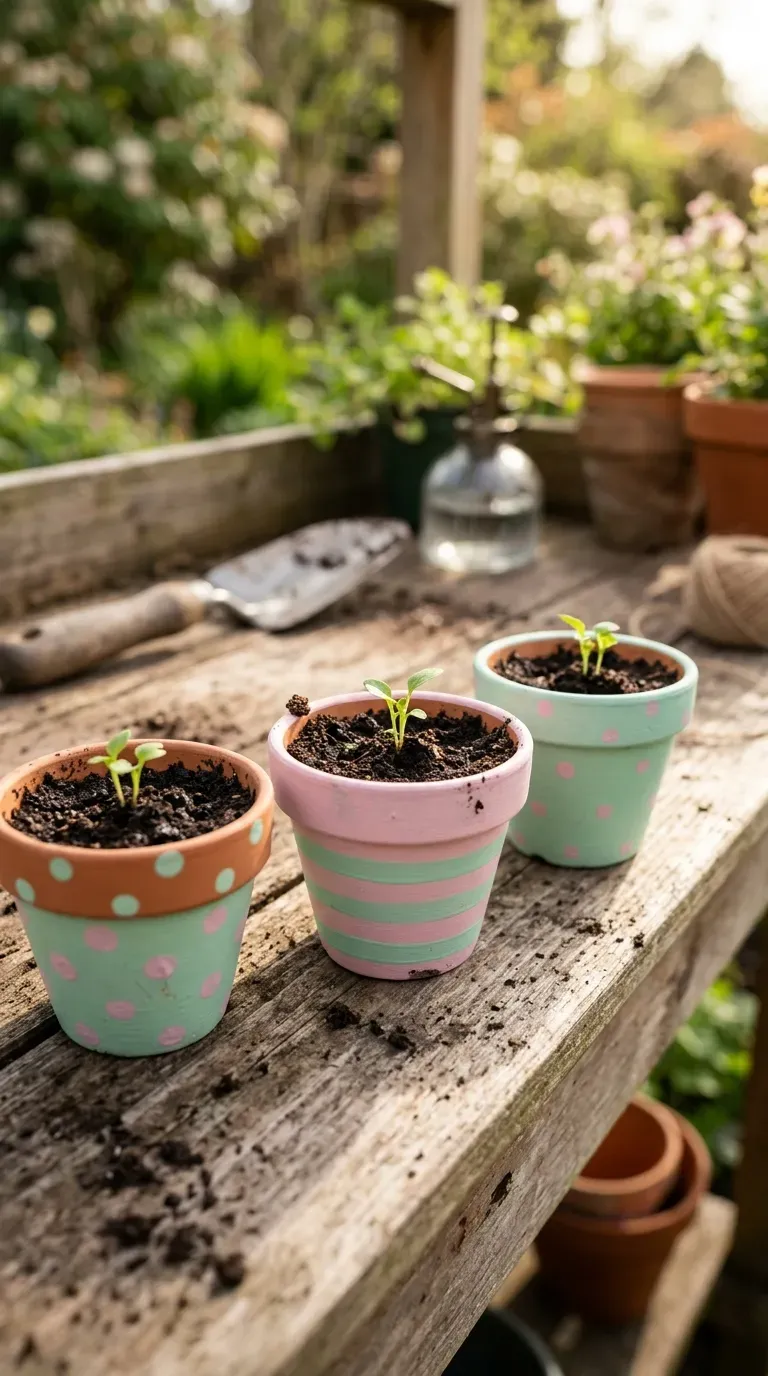
Let kids decorate miniature 3-inch terracotta pots with polka dots, stripes, or pastel brushstrokes using acrylic craft paint, then seal them with a water-based clear coat. Fill the pots with potting soil and plant fast-sprouting sunflower or bean seeds.
Why it works: Painting plant pots combines artistic expression with a beginner gardening lesson. Kids take immense pride in watering their decorated pots and watching their seedlings sprout on a sunny windowsill.
Budget guide: $1–$2 per mini terracotta pot, $3 for a seed packet and a small bag of potting soil.
9. Fork-Stamped Tulip Garden Canvas Painting
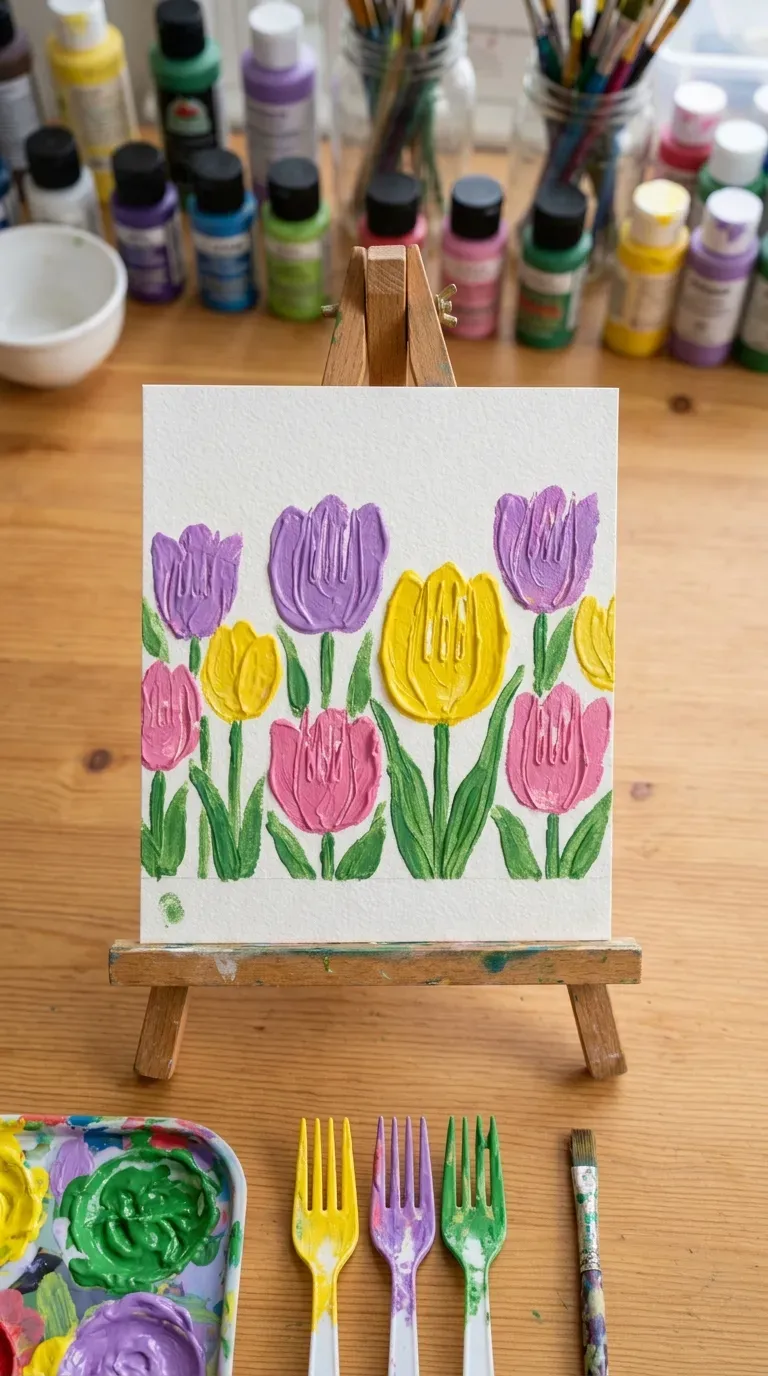
Dip the back tines of everyday plastic dinner forks into washable purple, pink, and yellow tempera paints, then press them onto heavy paper to stamp tulip blossom heads. Paint simple green stems and leaves extending down to complete the flower garden.
Why it works: Using kitchen forks as stamps is an accessible, failure-free painting technique that builds confidence in toddlers and preschoolers. The pronged shape creates instant flower petal definition without requiring complex brush control.
Budget guide: $2–$4 for a pack of plastic forks, $5 for washable tempera paint, $3 for heavy mixed media paper.
10. Recycled Cardboard Tube Honeybee Mobile with Twine
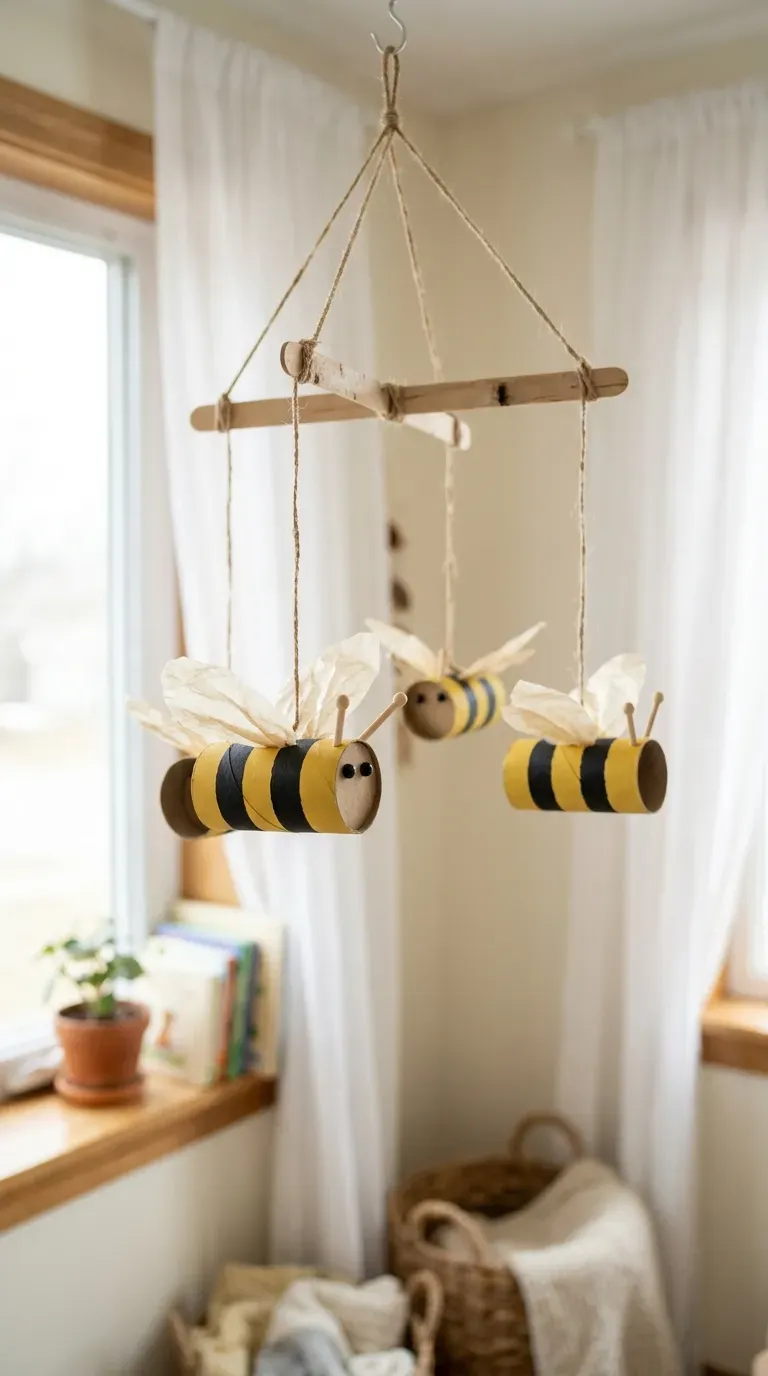
Paint cardboard toilet paper rolls with alternating yellow and black stripes, add glued-on wax paper oval wings, and attach black yarn for hanging. Suspend three or four bees from crossed craft sticks to create a fluttering honeybee mobile.
Why it works: Cardboard tube crafts make great use of household recyclables while encouraging 3D spatial thinking during mobile assembly. The lightweight bees spin and hover gently with subtle air currents in a child’s bedroom.
Budget guide: $0 for recycled cardboard tubes, $3–$6 for yellow paint, wax paper, and natural jute twine.
11. Pressed Flower Window Suncatchers with Clear Contact Paper
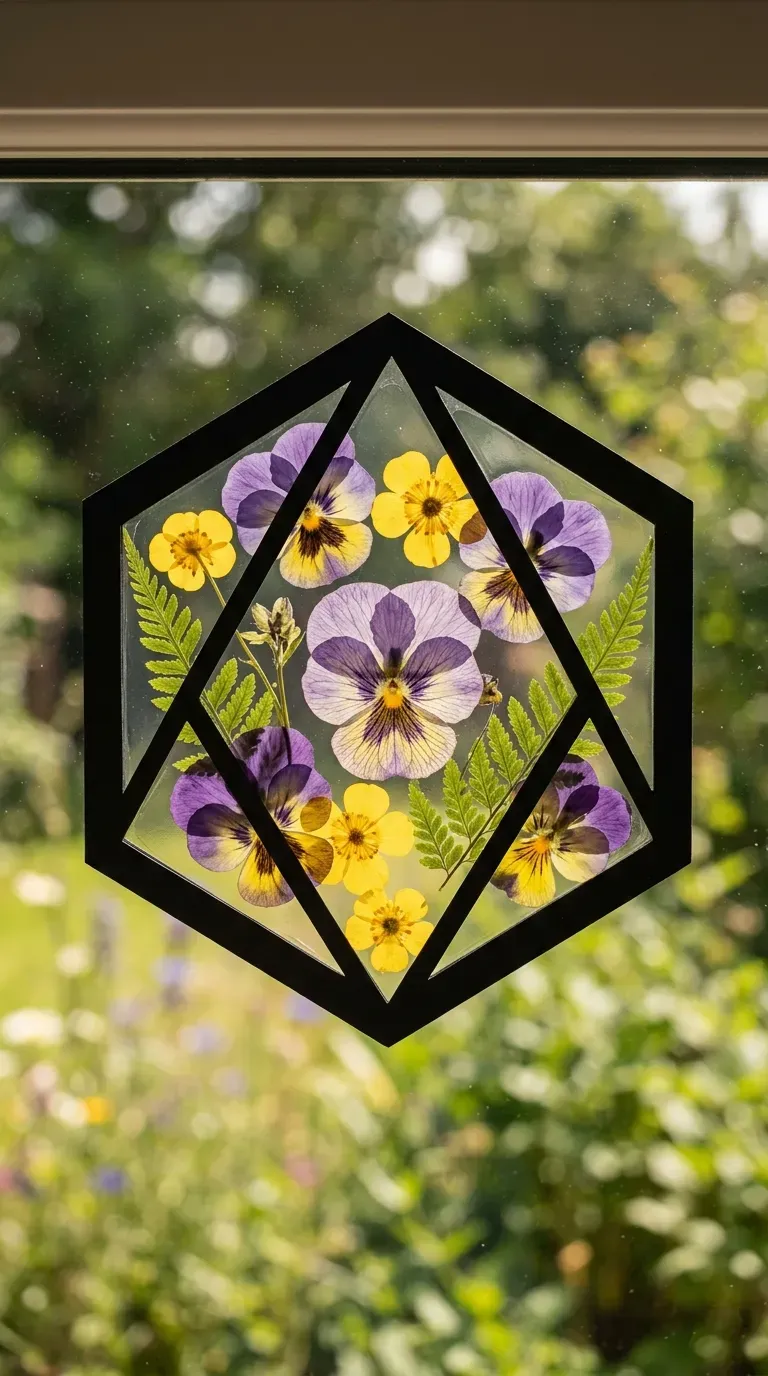
Cut hollow frame shapes out of black cardstock, place them onto sticky clear contact paper, and let kids arrange pressed spring flower petals and leaves inside the opening. Seal with a second sheet of contact paper and tape it to a sunny window.
Why it works: Self-adhesive contact paper provides a mess-free, glue-free sticky canvas that makes crafting accessible for even the youngest toddlers. The real botanical petals glow brilliantly when illuminated by outdoor sunlight.
Budget guide: $4–$7 for a roll of clear self-adhesive contact paper and black cardstock.
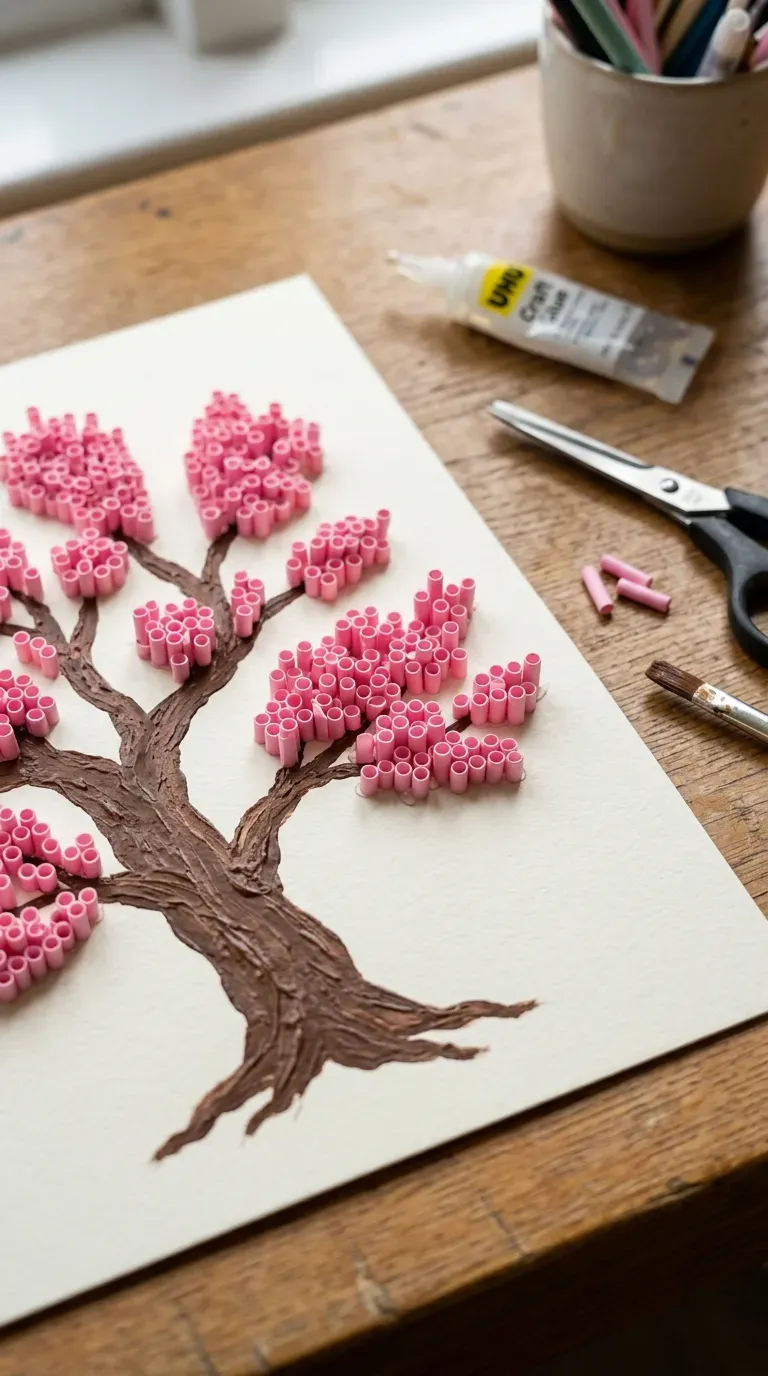
12. Paper Straw Cherry Blossom Tree Painting on Cardstock
Paint a simple brown tree branch silhouette onto heavy cardstock, cut pink paper drinking straws into small segments, and glue them in clusters along the branches to mimic spring cherry blossoms.
Why it works: Gluing small straw segments adds unexpected 3D texture and dimensional pop to standard flat paper paintings. The cheerful pink blossoms celebrate the arrival of spring while honing fine-motor pinch grasp in developing crafters.
Budget guide: $2–$4 for a pack of pink striped paper straws, $4 for brown acrylic paint and heavy cardstock.
Conclusion
Welcoming spring with creative DIY projects is a wonderful way to spark imagination, build fine motor skills, and make colorful seasonal memories with your family. These 12 easy spring crafts for kids that are super fun to make use simple materials you likely already have around the house, keeping afternoon activities fun, mess-manageable, and budget-friendly. Pick your favorite project, gather a few supplies, and enjoy crafting together today. Save this guide for your next weekend family activity!