
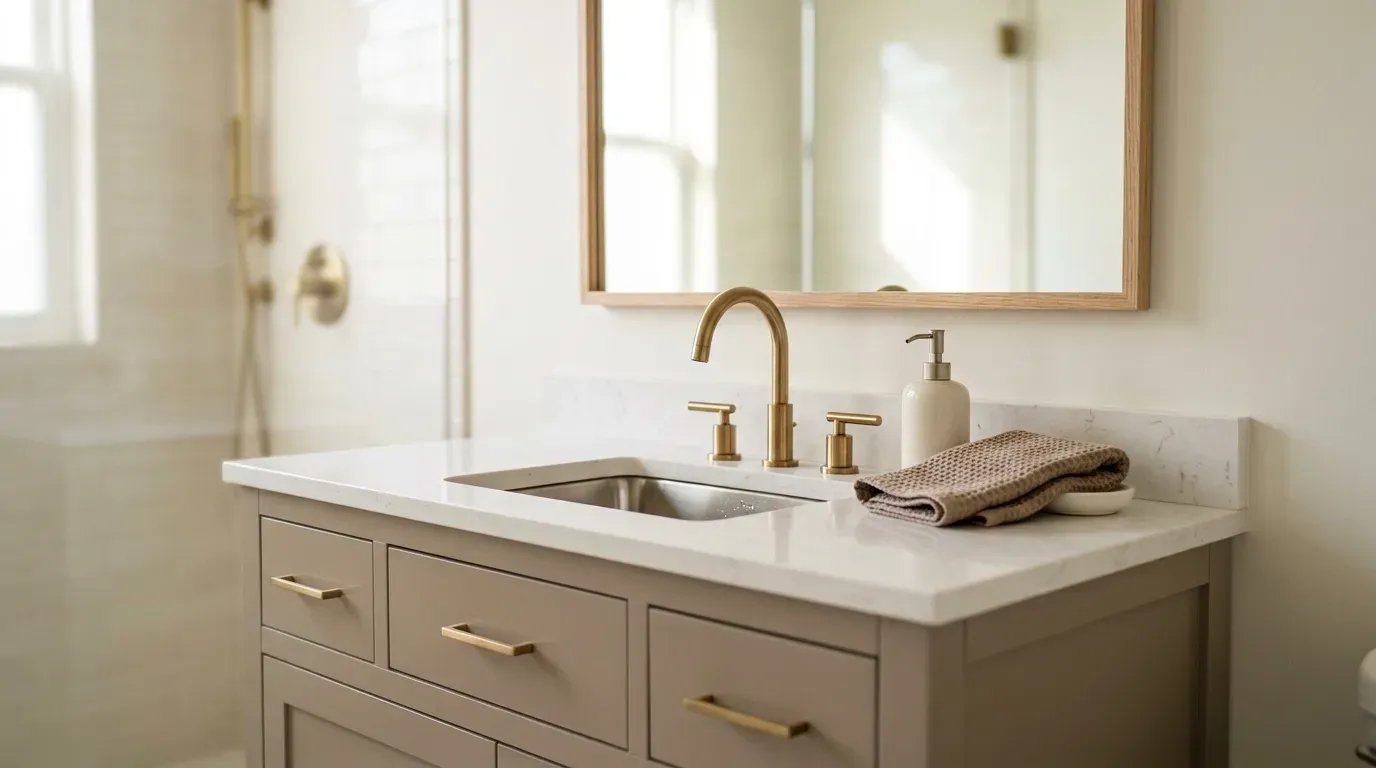
Builder-grade homes often come with generic fixtures, flat hollow doors, and plain frameless mirrors that make rooms feel uninspired. Fortunately, giving your space a custom, high-end feel doesn’t require a contractor or a massive renovation budget. Here are 15 easy builder grade upgrades you can do on a budget that add architectural charm, modern texture, and timeless value to every room.
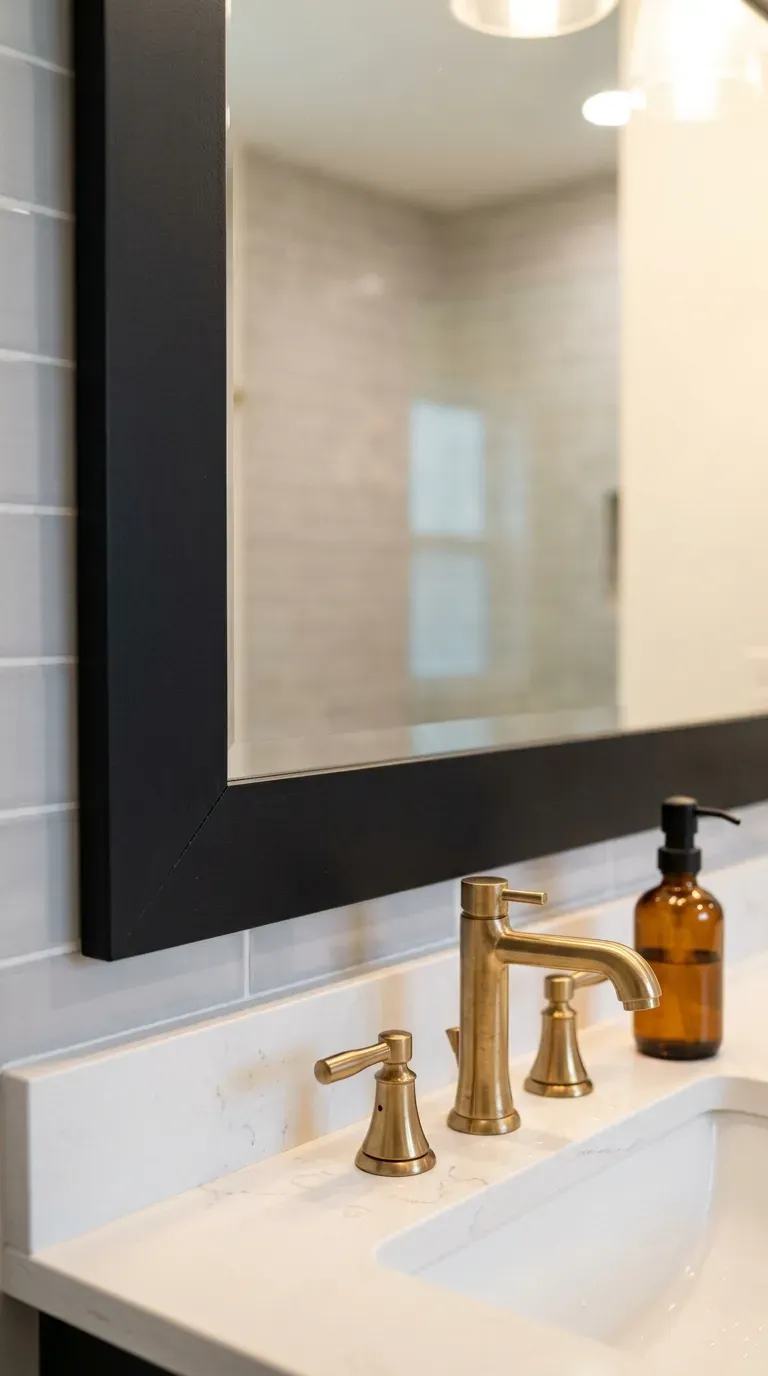
1. Frame a Frameless Bathroom Plate Glass Mirror with Custom Wood Trim
Adhere pre-primed pine casing or moisture-resistant PVC trim directly around the raw edges of your existing plate glass bathroom mirror using construction adhesive. Paint the trim in a contrasting matte black or warm wood stain to create a polished, built-in frame.
Why it works: Raw, clip-mounted sheet mirrors are the hallmark of builder-basic bathrooms. Adding a clean wooden frame creates a tailored border that covers unsightly mirror clips and instantly elevates the vanity into a custom designer centerpiece.
Budget guide: $20–$40 for pine molding or primed casing, $8 for mirror-safe construction adhesive.
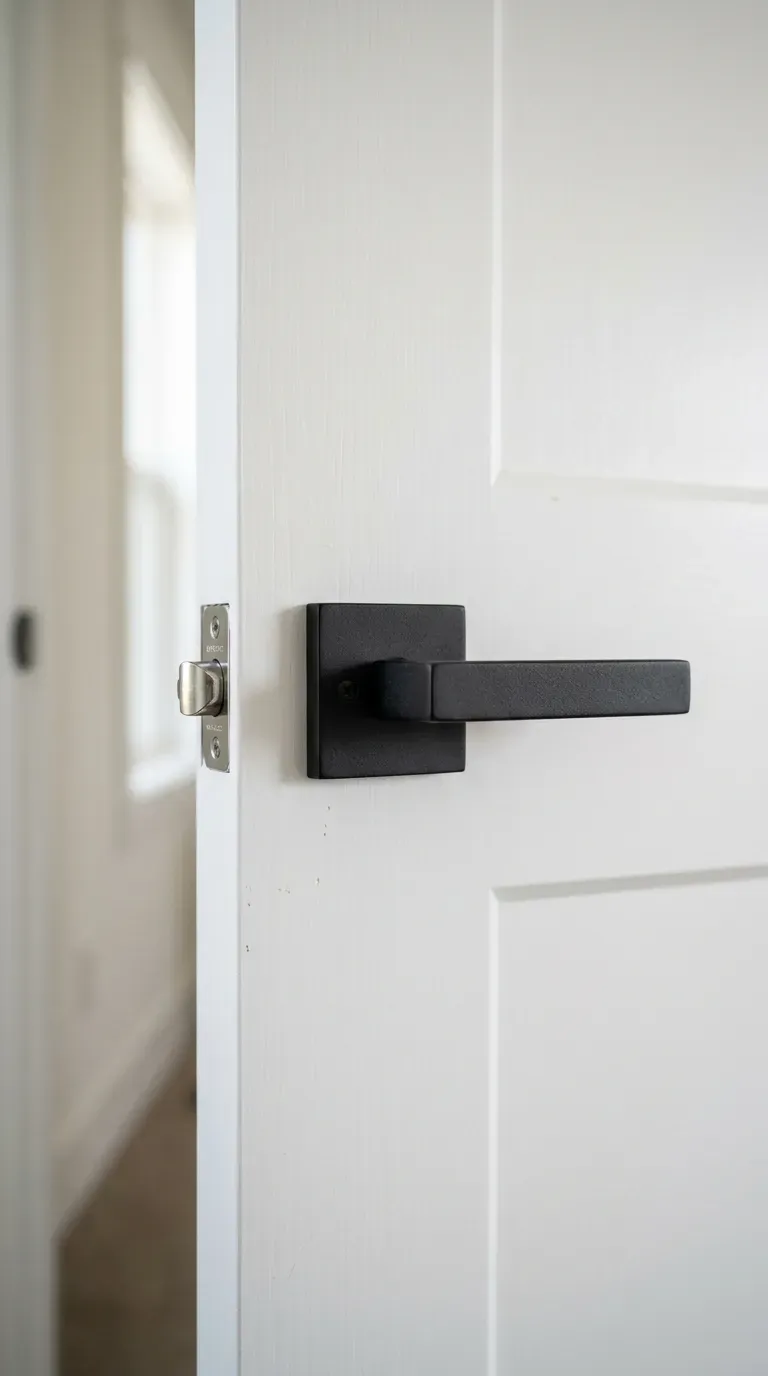
2. Swap Hollow-Core Interior Door Knobs for Matte Black Levers
Replace builder-grade brass or chrome round knobs with sleek, squared matte black lever handles on all interior hallway and bedroom doors. This quick screwdriver-only swap modernizes your entire hallway in under an hour.
Why it works: Round builder-grade door knobs often feel lightweight and dated. Modern lever handles offer a substantial, ergonomic grip and provide a high-contrast accent that instantly sharpens up plain white doors.
Budget guide: $12–$22 per door lever pack when purchased in multi-packs online.
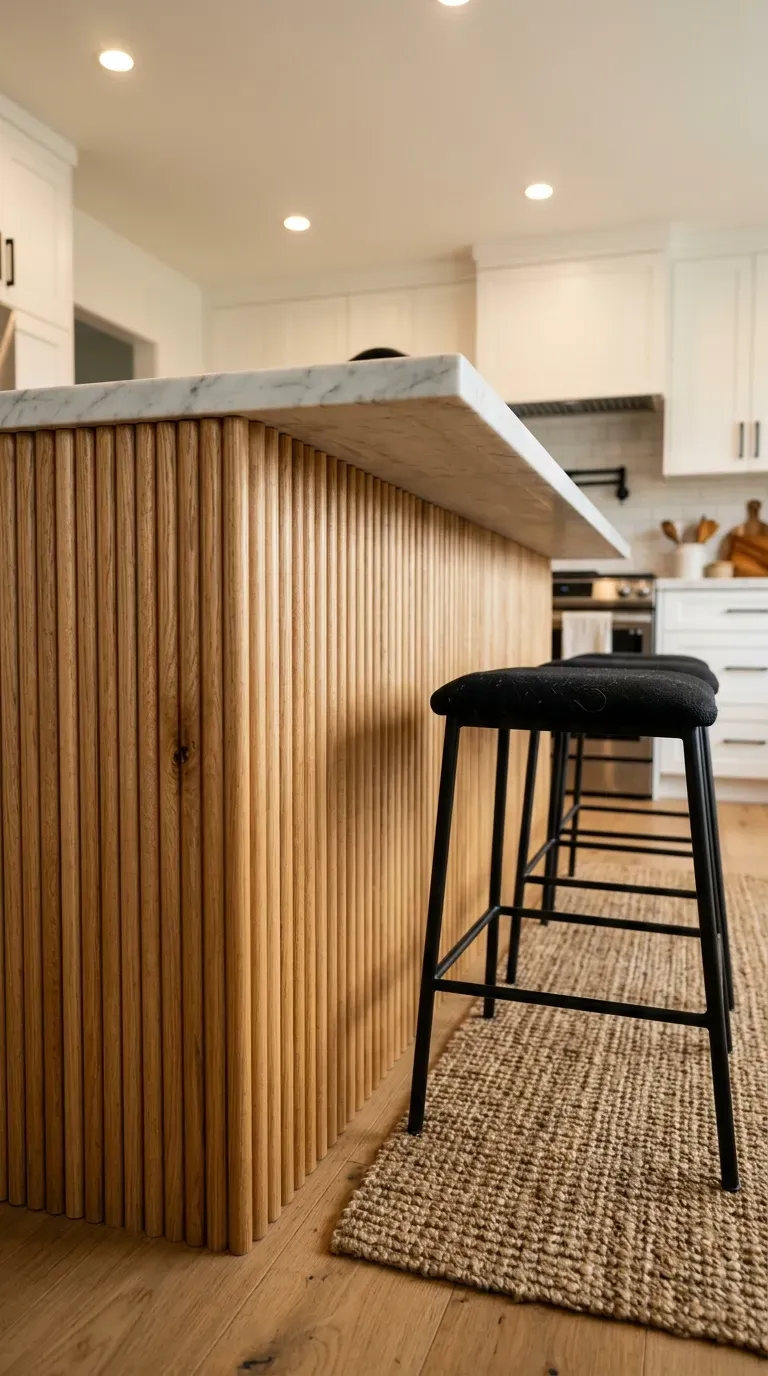
3. Add Peel-and-Stick Fluted Pole Wrap to a Basic Kitchen Island
Wrap the flat drywall back of your builder-grade kitchen island or breakfast bar in flexible fluted wood pole wrap. Finish the fluting with a protective natural oak stain or a deep contrasting paint color.
Why it works: Builder islands typically feature plain, scuff-prone drywall that lacks architectural personality. Fluted wooden pole wrap introduces rich vertical texture and tactile shadow lines, turning a standard island into a high-end architectural focal point.
Budget guide: $50–$95 for a roll of flexible wood pole wrap, $15 for wood stain or paint.
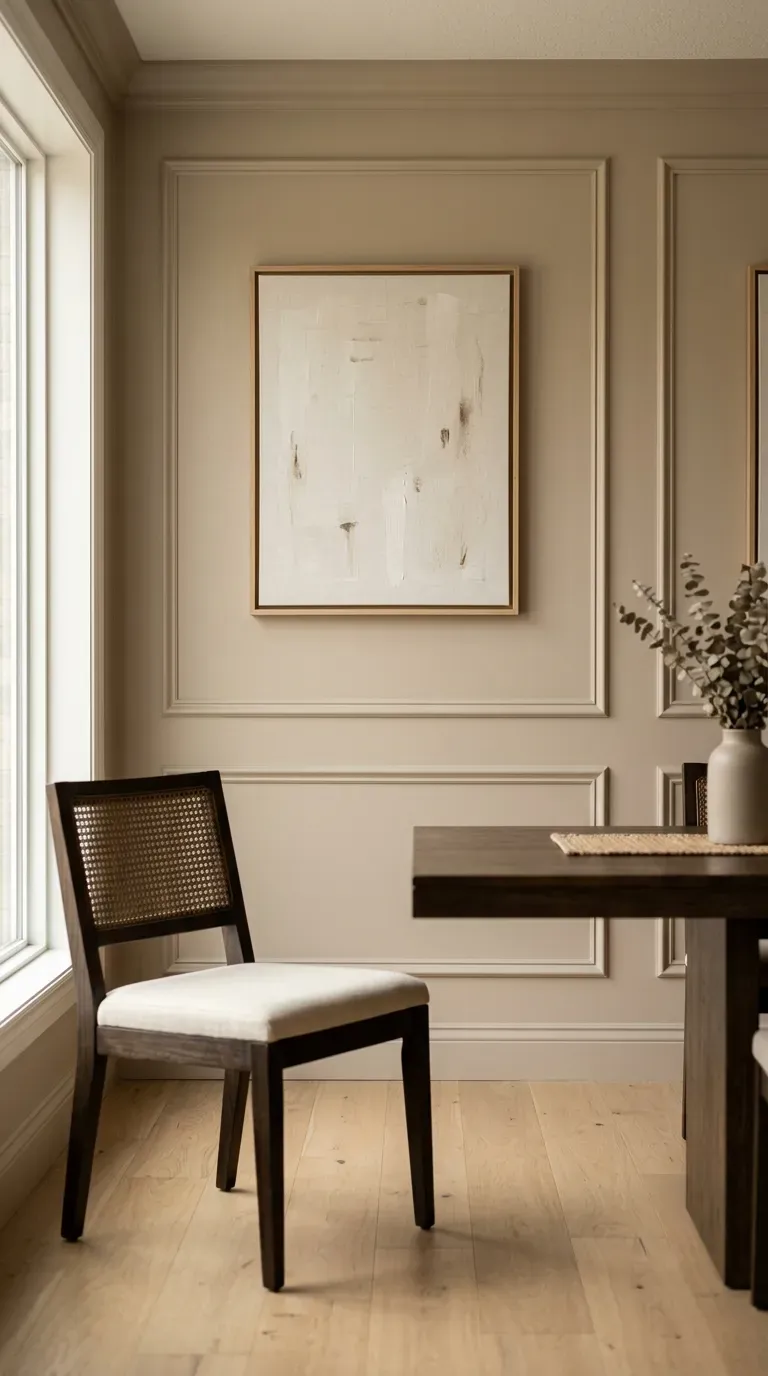
4. Install Modern Picture Frame Molding on Plain Drywall
Create custom wall paneling by applying pre-cut wood or polyurethane picture frame molding boxes across a dining room, hallway, or bedroom accent wall. Paint both the wall and moldings in the same satin hue for an integrated look.
Why it works: Large expanses of bare drywall can make modern builds feel sterile and cavernous. Symmetrical wall boxes break up flat walls, add classical depth, and deliver European-inspired architectural luxury at a fraction of custom millwork costs.
Budget guide: $45–$90 for lightweight decorative molding trim strips, painter’s caulk, and a basic miter shear tool.
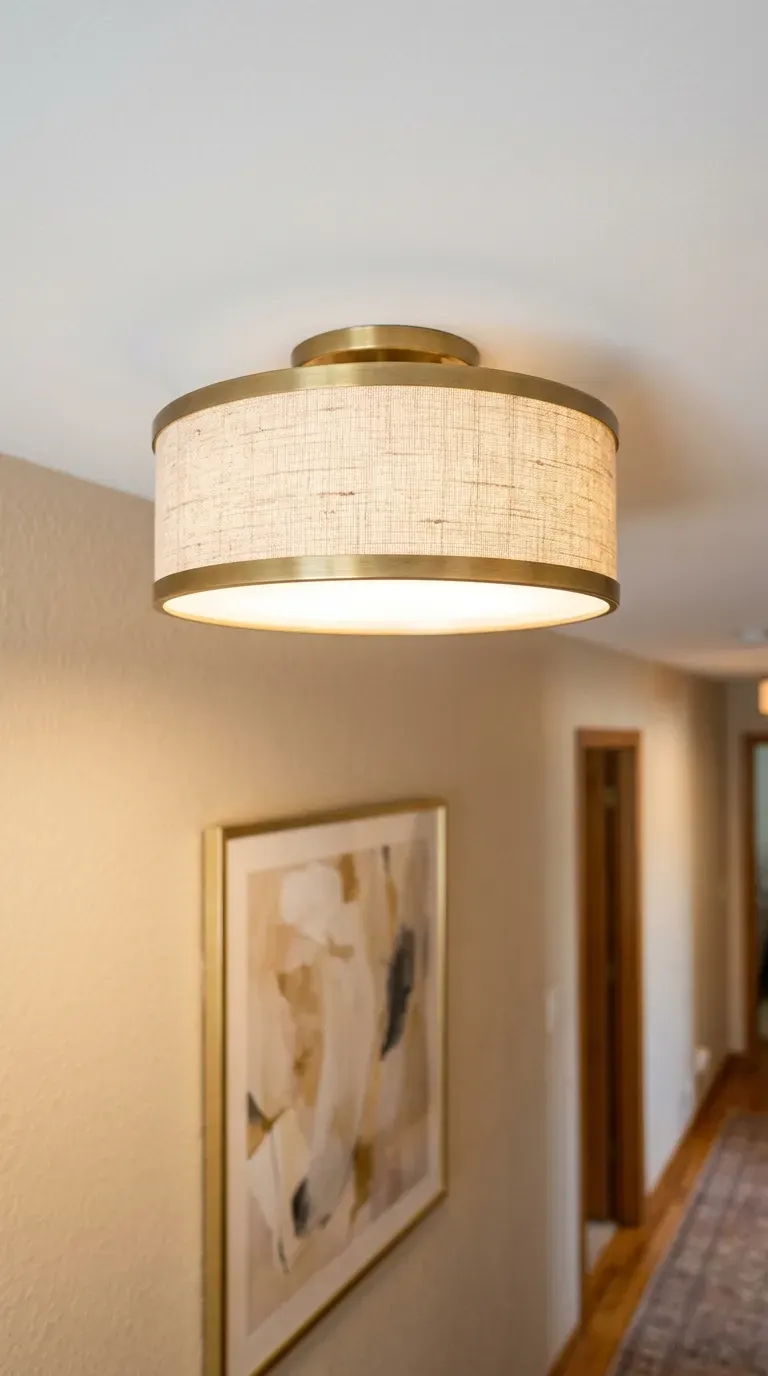
5. Replace Basic Ceiling Flush-Mounts with Fabric Drum Shades
Swap out builder-grade frosted glass dome fixtures in bedrooms and hallways with textured linen drum flush-mount fixtures or woven rattan shades. Look for fixtures with bottom diffusers for soft, glare-free light.
Why it works: Standard glass dome fixtures cast unflattering, harsh downward light and immediately reveal a home’s budget origins. Fabric drum shades and woven textures diffuse lighting evenly across ceilings while adding warmth and softness overhead.
Budget guide: $35–$70 per modern fabric drum shade or woven flush-mount ceiling light.
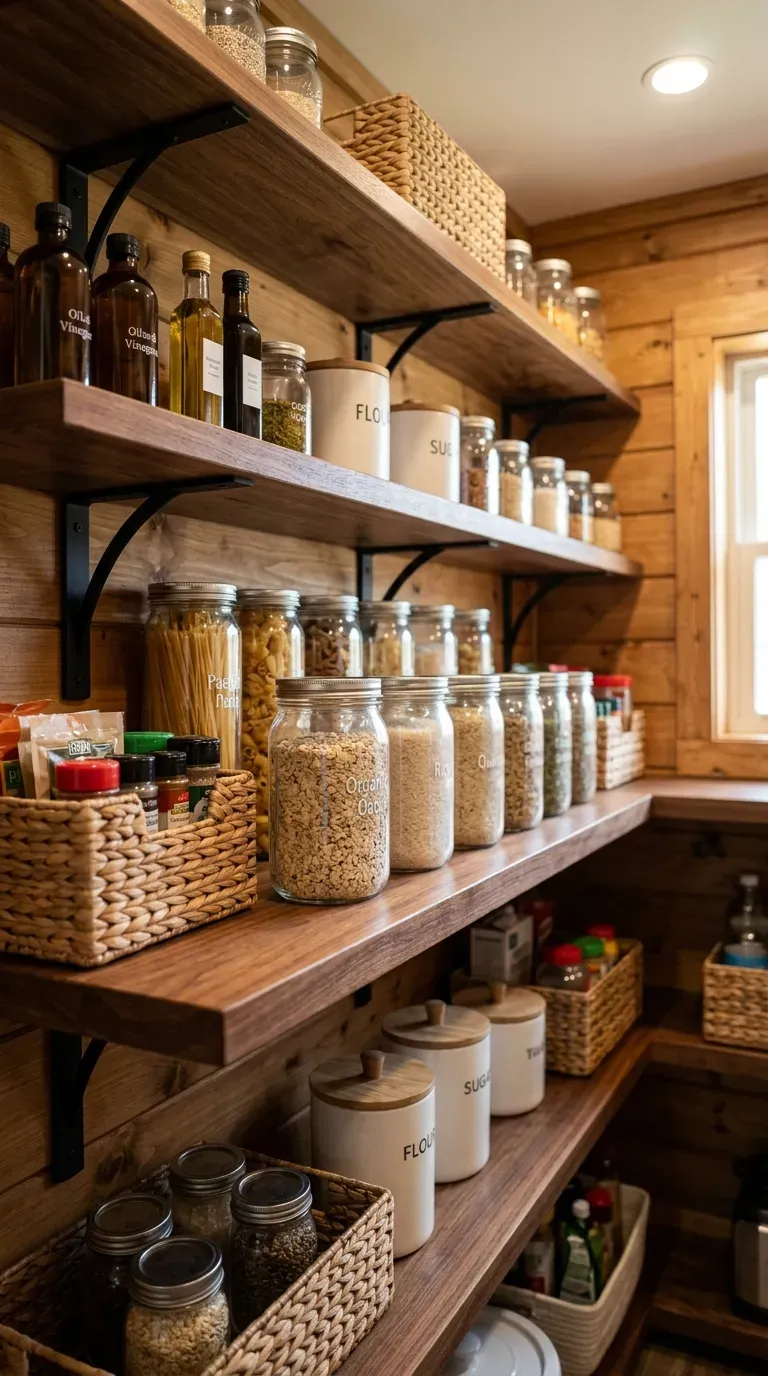
6. Upgrade Wire Pantry Shelving to Stained Solid Wood Boards
Rip out flimsy white wire shelves in your kitchen pantry and replace them with solid pine or spruce boards supported by heavy-duty black iron shelf brackets. Stain the boards in a warm walnut or honey oak tone.
Why it works: Wire shelving causes canned goods to tip over and leaves wire grid marks on packages. Solid wood shelving creates a sturdy, flat storage surface that makes your pantry feel like a bespoke walk-in butler’s pantry.
Budget guide: $50–$100 for lumber boards, stain, and heavy-duty metal wall brackets.
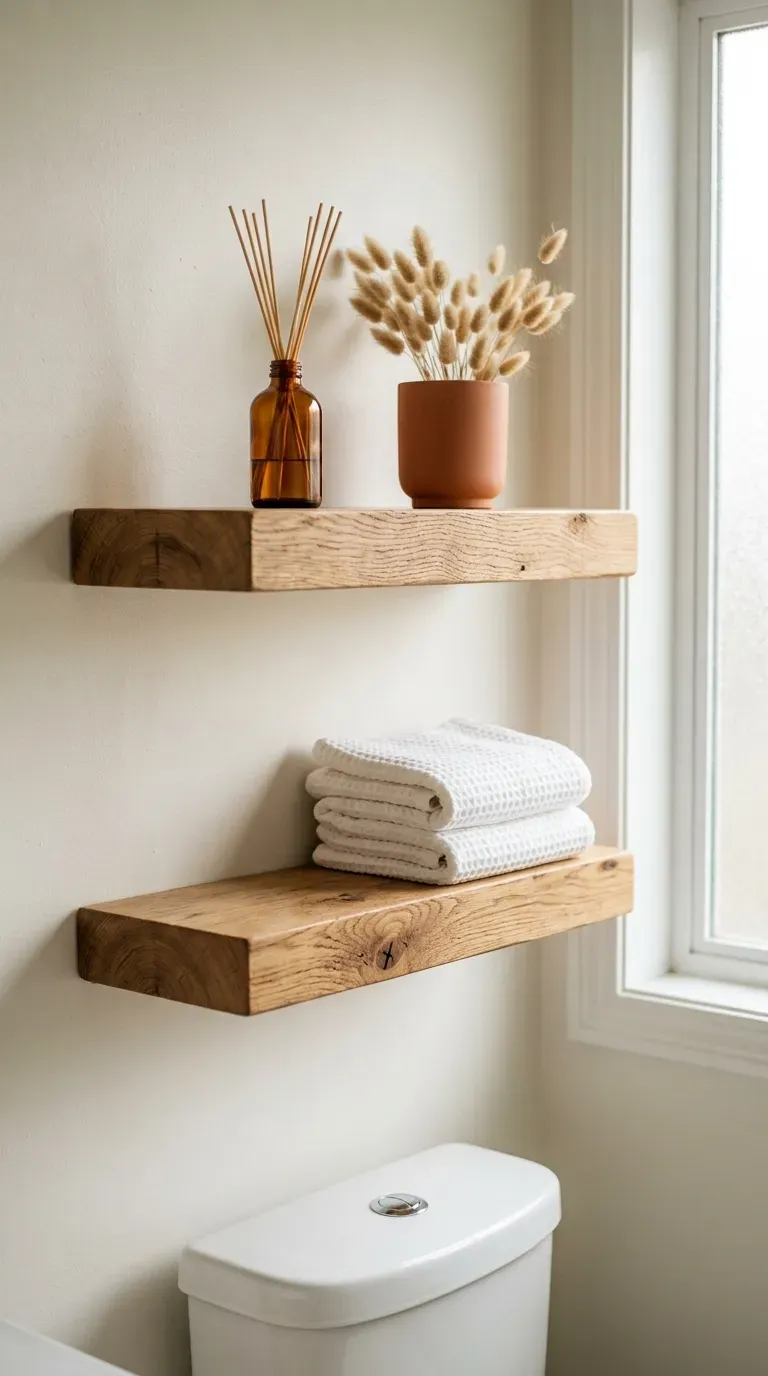
7. Add Chunky Floating Wood Shelves Above the Toilet
Mount two chunky natural wood floating shelves on the empty wall space above your bathroom toilet to hold decorative accents and everyday essentials. Style them with a small stack of folded towels, an amber glass reed diffuser, and a framed mini art print.
Why it works: The wall above a toilet is often wasted vertical space in builder bathrooms. Adding floating timber shelves adds warmth to cold ceramic tile and provides stylish, easily accessible storage for small spaces.
Budget guide: $30–$55 for a set of two hollow-core floating wood shelves with hidden mounting hardware.
8. Paint Builder-Grade Oak Cabinets in a Rich Warm Greige
Sand, prime, and paint dated golden-oak kitchen or bathroom cabinets in a sophisticated, modern greige or mushroom hue. Use an enamel-based cabinet paint to ensure a smooth, durable factory-like finish.
Why it works: Orange-toned builder oak cabinets often date a home by decades. A fresh coat of warm greige neutralizes brassy undertones, hides heavy wood grain, and gives your cabinetry a high-end designer look without replacing cabinet boxes.
Budget guide: $50–$90 for bonding primer, durable cabinet enamel paint, and high-density foam rollers.
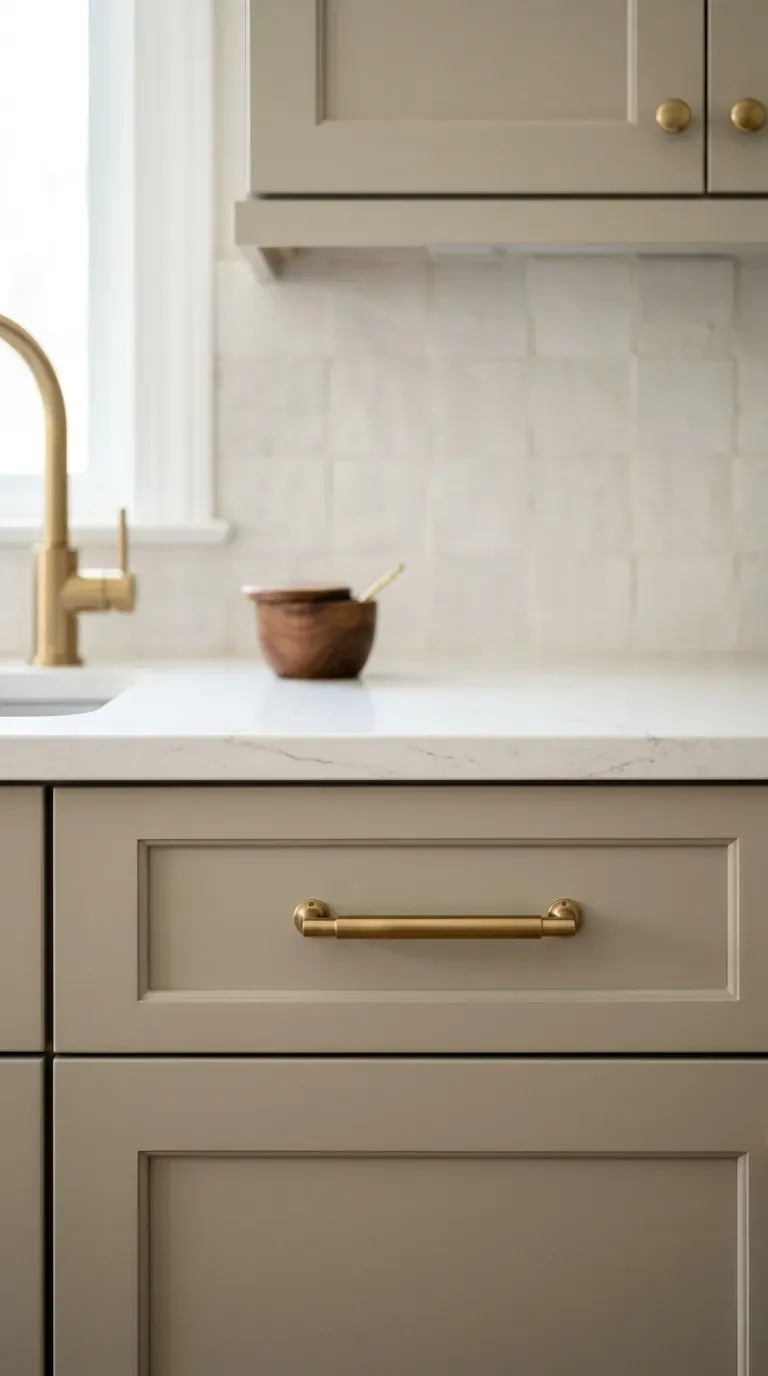
9. Add Sleek Brushed Brass Cabinet Pulls to Flat-Front Drawers
Install modern brushed brass bar pulls or knurled T-bar handles on bare, hardware-free builder cabinets. Use an inexpensive plastic alignment template to drill perfectly consistent holes across all doors and drawers.
Why it works: Builder cabinets are often installed without any hardware to cut builder costs. Adding substantial metal pulls protects cabinet paint from finger oils and functions like jewelry for your kitchen, instantly elevating plain doors.
Budget guide: $25–$50 for a multi-pack of 10–20 solid brass or zinc-alloy cabinet pulls, plus $8 for a cabinet drill template.
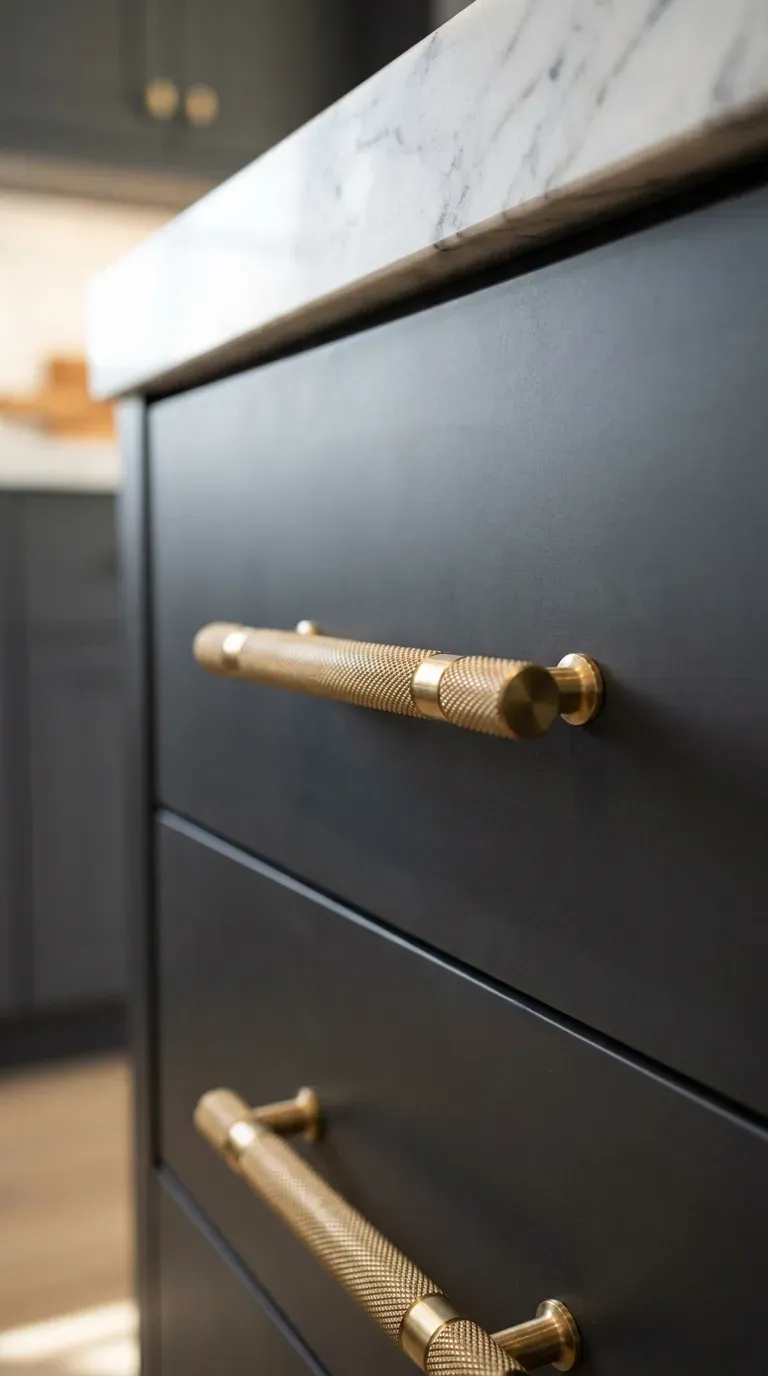
10. Install Peel-and-Stick Subway Tile with Dark Grout Lines
Cover plain painted drywall behind your kitchen counters or bathroom sink with glossy white peel-and-stick subway tiles featuring dark charcoal faux grout lines. The tiles stick directly over existing clean drywall with no mortar or messy demolition.
Why it works: A tiled backsplash protects drywall from grease splatters and water damage while adding high-contrast visual texture. The classic brick bond pattern with dark grout gives the illusion of expensive ceramic masonry at a tiny fraction of the price.
Budget guide: $40–$85 for enough peel-and-stick composite tile sheets to cover a standard kitchen backsplash area.
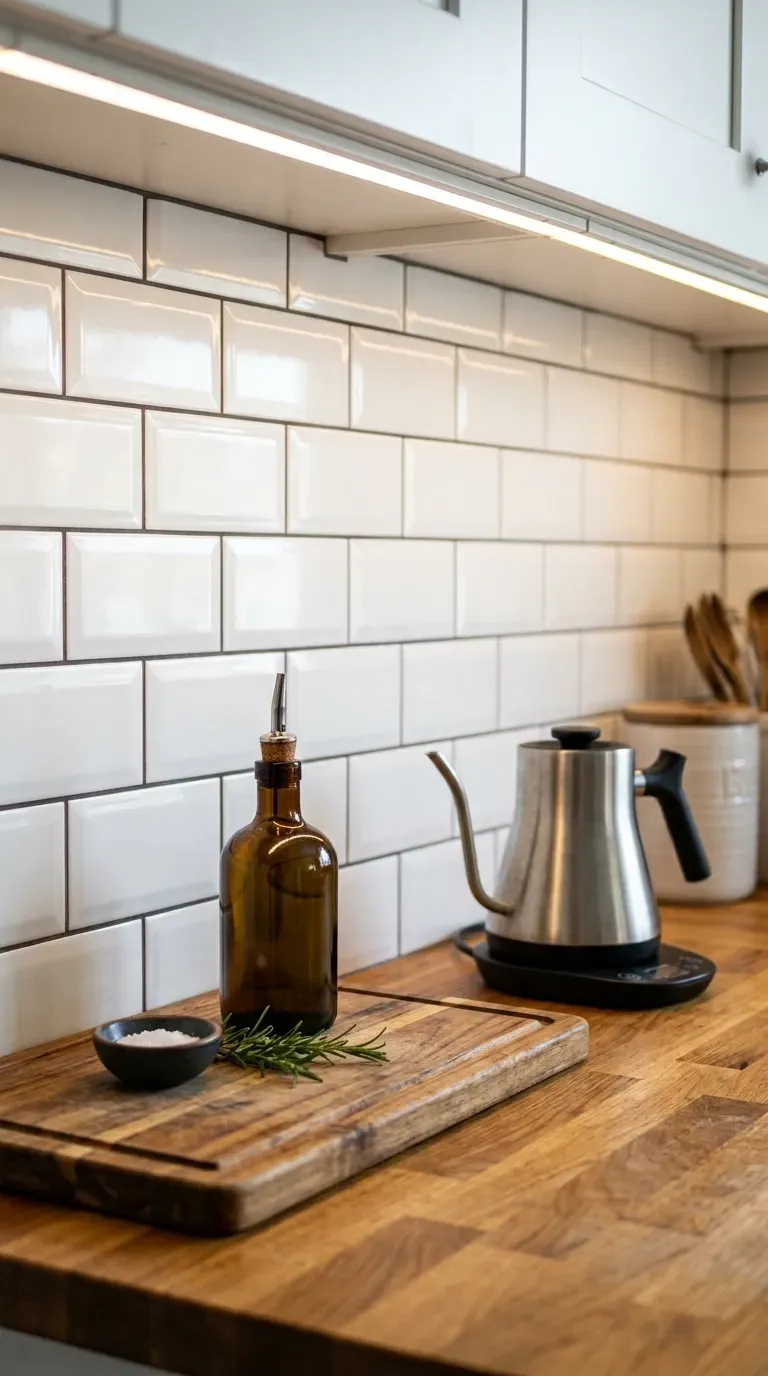
11. Upgrade Basic Baseboards with a Tall Baseboard Cap Molding
Make flimsy 3-inch builder baseboards look substantial by attaching a strip of small decorative base cap molding 2 to 3 inches above the existing trim, then painting the wall space between them the same color as the trim.
Why it works: Standard thin baseboards make high ceilings feel disproportionate and look cheap. This clever illusion trick creates the visual appearance of expensive, custom 6-inch architectural baseboards without the labor or cost of ripping out existing trim.
Budget guide: $20–$45 for lightweight pine cap molding strips, finishing nails, and white semi-gloss trim paint.
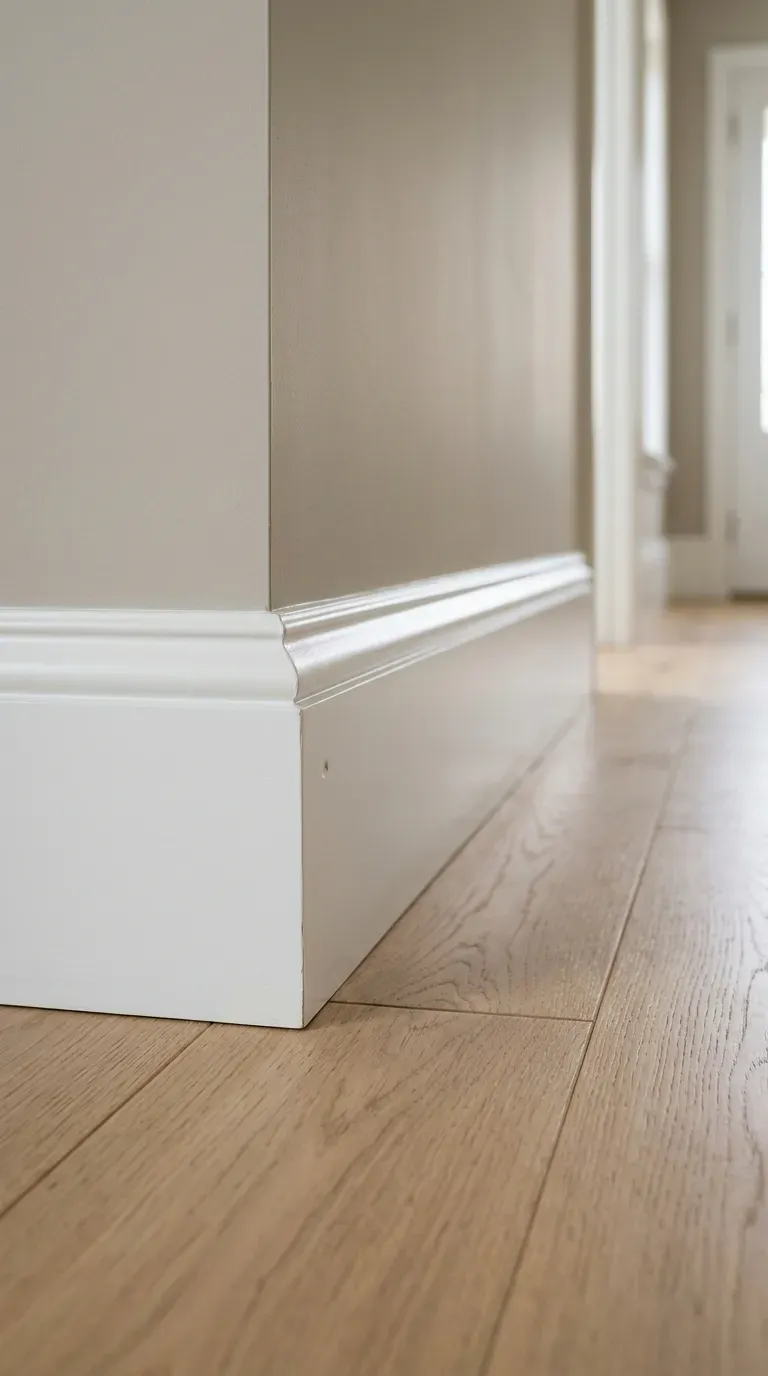
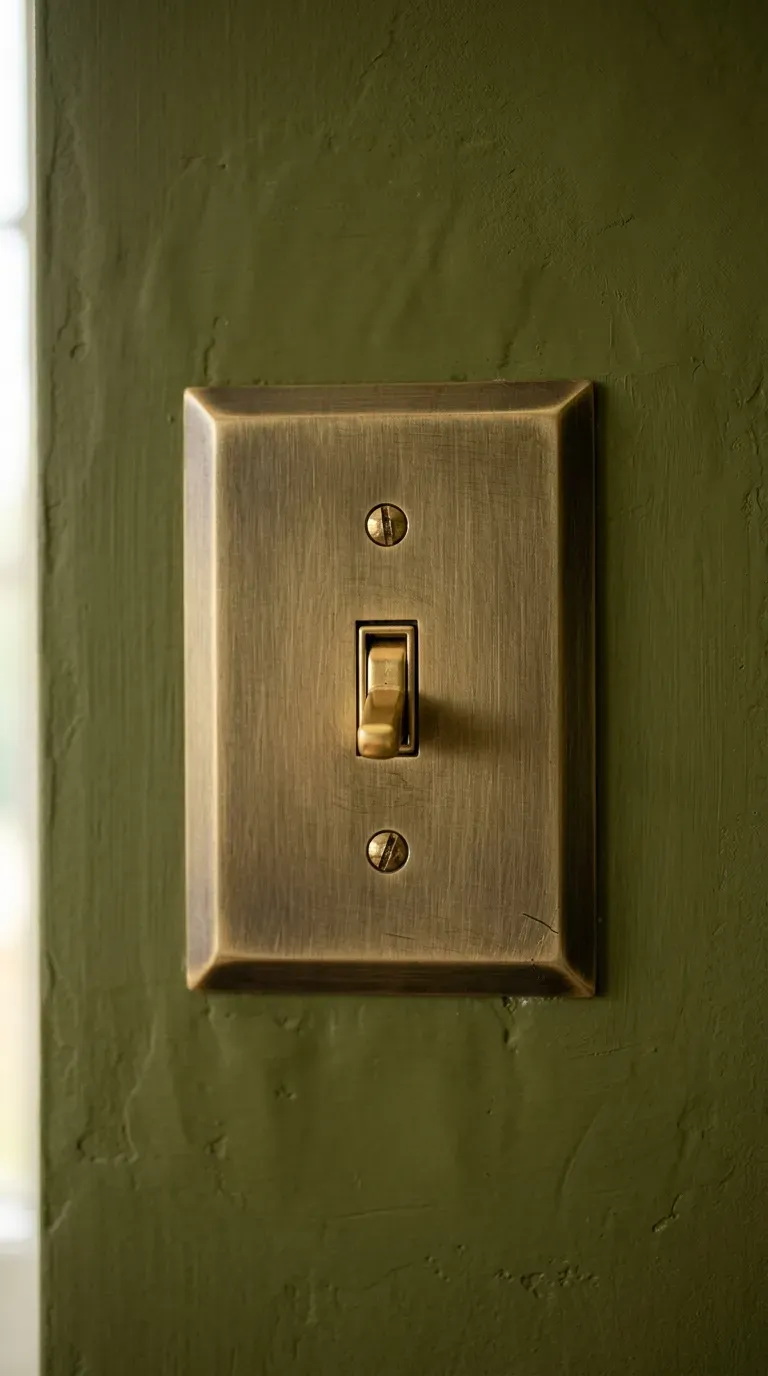
12. Replace Plastic Switch Plate Covers with Cast Metal Plates
Swap out cheap plastic wall switch plates and outlet covers for heavy stamped brass or oil-rubbed bronze architectural plates. This five-minute screwdriver project brings tactile luxury to high-touch points throughout your home.
Why it works: Flimsy plastic switch plates discolor, crack easily, and look unmistakably builder-grade. Upgrading to solid metal plates provides a weighty, satisfying feel whenever you flip a switch and unifies your wall hardware with light fixtures.
Budget guide: $5–$12 per metal switch cover, or $20–$50 to upgrade all main living areas.
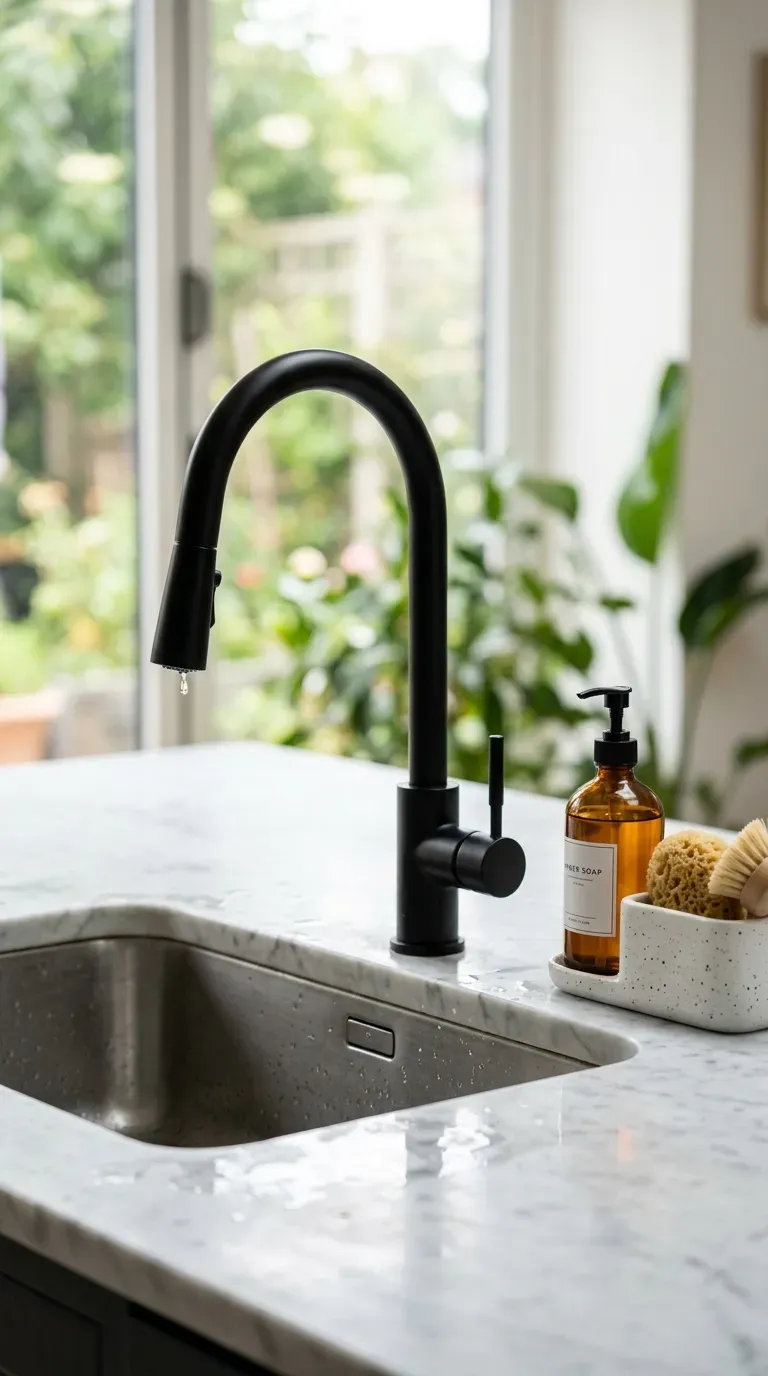
13. Install a Modern Matte Black Pull-Down Kitchen Faucet
Replace a standard, chrome builder faucet with a commercial-style, high-arc matte black pull-down kitchen faucet. Look for models with a magnetic docking spray head and single-lever temperature control.
Why it works: Kitchen faucets are among the most heavily used fixtures in the house. A bold, high-arc faucet provides immediate visual height at the sink area and gives the kitchen an updated, professional culinary aesthetic on a modest budget.
Budget guide: $60–$120 for a high-arc single-handle pull-down faucet with quick-connect plumbing lines.
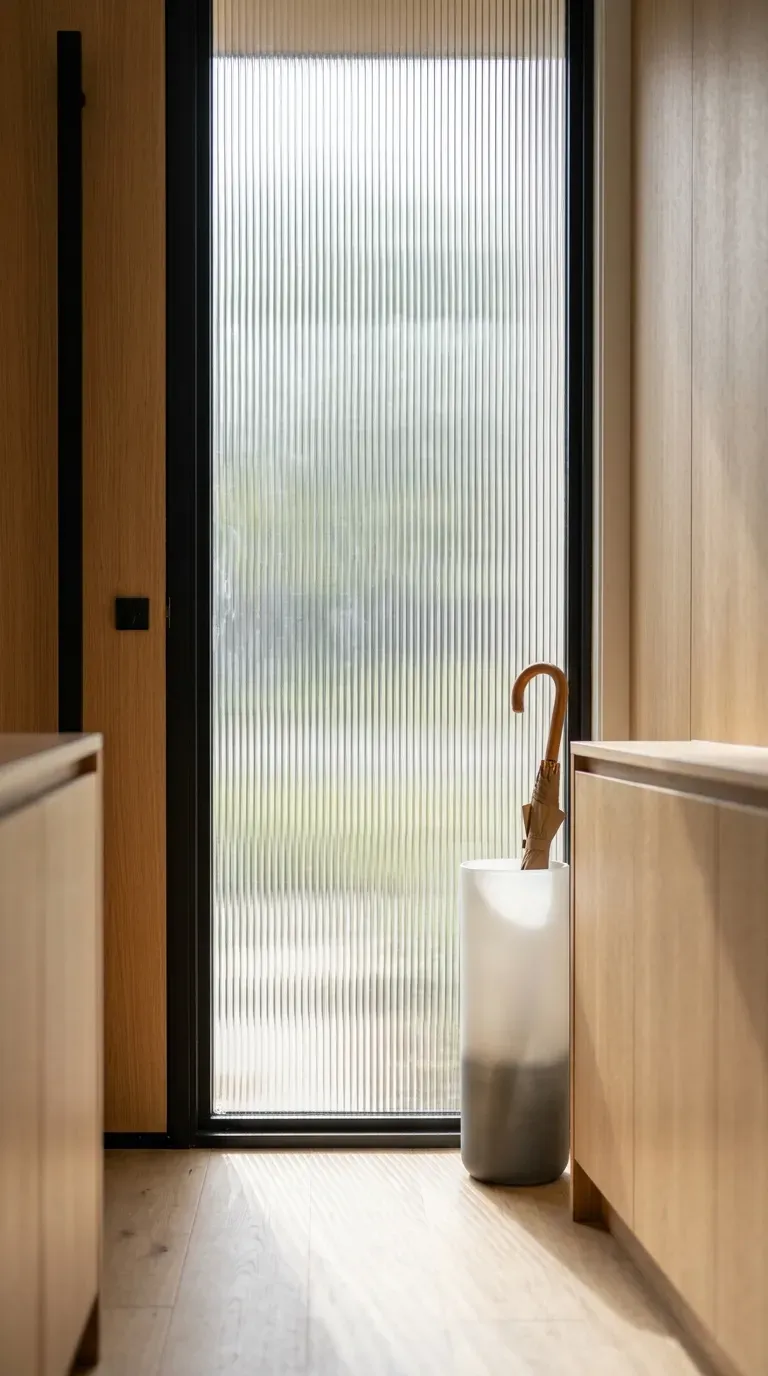
14. Add Reeded Window Privacy Film to Standard Glass Panes
Apply static-cling reeded or fluted glass film to plain builder window sidelights, front door glass, or shower enclosures. The film applies with soapy water and squeegees flat in minutes without permanent adhesives.
Why it works: Plain clear sidelights leave entryways exposed to street view, while frosted spray can look cheap. Reeded film mimics expensive architectural ribbed glass, filtering harsh sunlight into soft ambient rays while offering stylish, renter-friendly privacy.
Budget guide: $15–$30 for a roll of static-cling fluted glass film and an application squeegee kit.
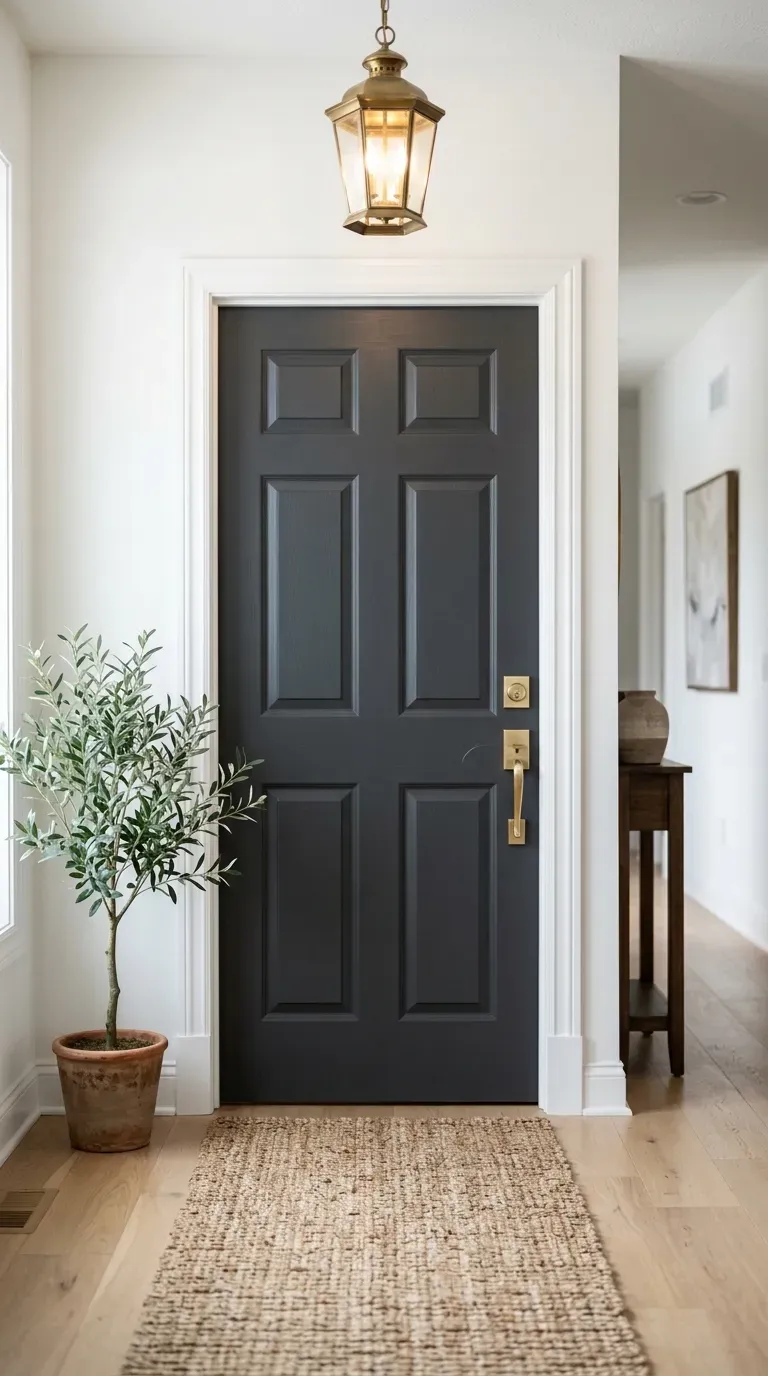
15. Paint the Interior Side of the Front Door in Deep Charcoal
Give your foyer an immediate focal point by painting just the interior face of a standard white front door in a rich charcoal or deep slate grey. Keep the surrounding door casing crisp white to create sharp visual contrast.
Why it works: Leaving the interior front door plain white makes an entryway feel flat and utilitarian. A dark accent door anchors the entrance, conceals daily scuffs from shoes and keys, and creates a high-end designer statement right at the threshold.
Budget guide: $25–$45 for a quart of high-durability satin or semi-gloss interior paint and basic painting supplies.
Conclusion
Upgrading a cookie-cutter home doesn’t require a six-figure contractor budget. These 15 easy builder grade upgrades you can do on a budget demonstrate that simple, strategic DIY projects—from framing a bathroom mirror to swapping cabinet hardware—can completely transform basic rooms into custom, high-end living spaces. Pick one or two projects to tackle this weekend and enjoy the immediate difference. Save this guide for your next home improvement weekend!