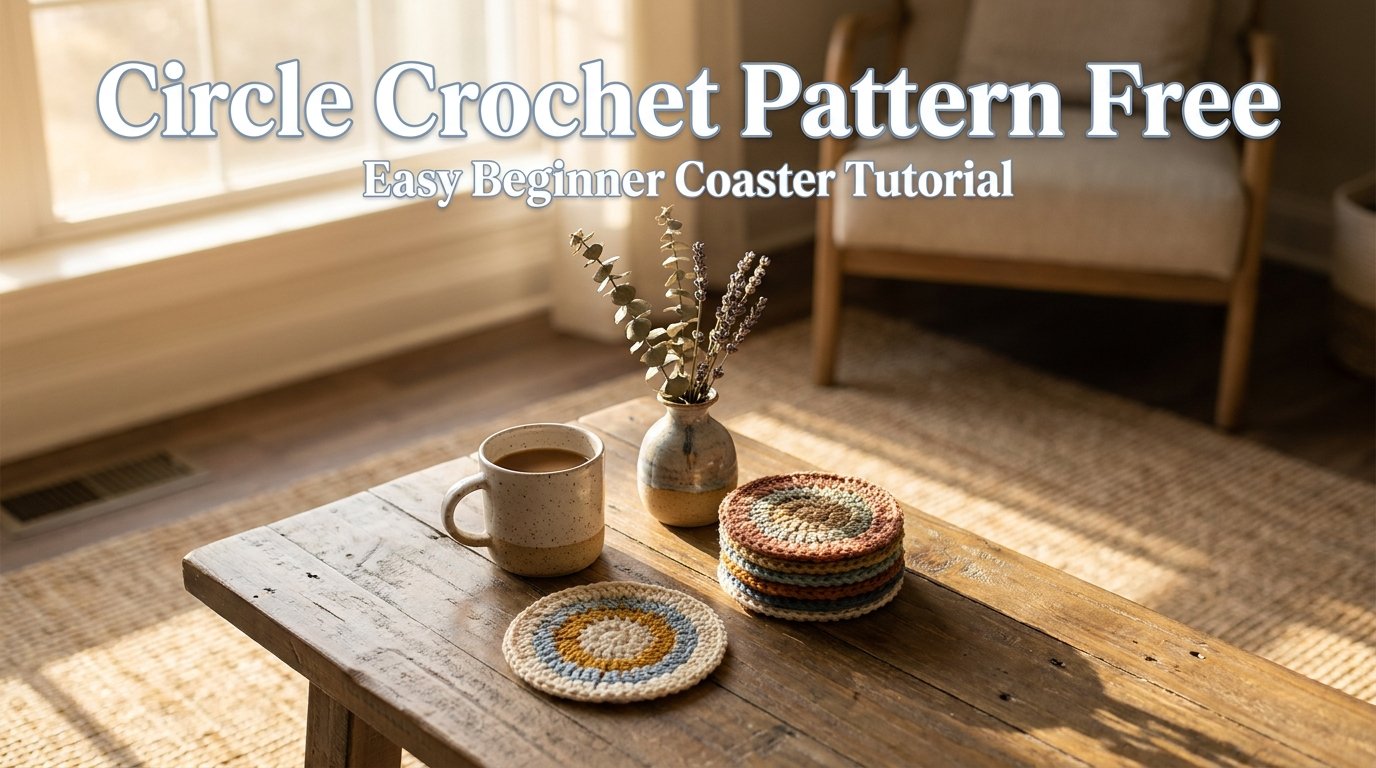
A simple crochet circle is one of the first techniques every crocheter should learn. It forms the foundation for countless projects, including coasters, appliqués, placemats, baskets, rugs, hats, and even amigurumi. Once you understand how to crochet a perfectly flat circle, you’ll be able to adapt the same technique to dozens of future patterns.
In this tutorial, you’ll learn how to crochet a classic crochet circle pattern free using basic stitches and simple increase rounds. The design is beginner-friendly, works up quickly, and creates a neat circular coaster that’s both practical and decorative.
This project is perfect for practicing stitch consistency while making something you’ll actually use every day. Whether you’re creating a matching coaster set for your home or handmade gifts for family and friends, this easy pattern is a great place to start.
Skill Level
Beginner
This project uses only basic crochet stitches and simple increases, making it ideal if you’re learning to crochet in the round.
Finished Size
Approximately 4–5 inches (10–12 cm) depending on your yarn choice, hook size, and personal tension.
Materials
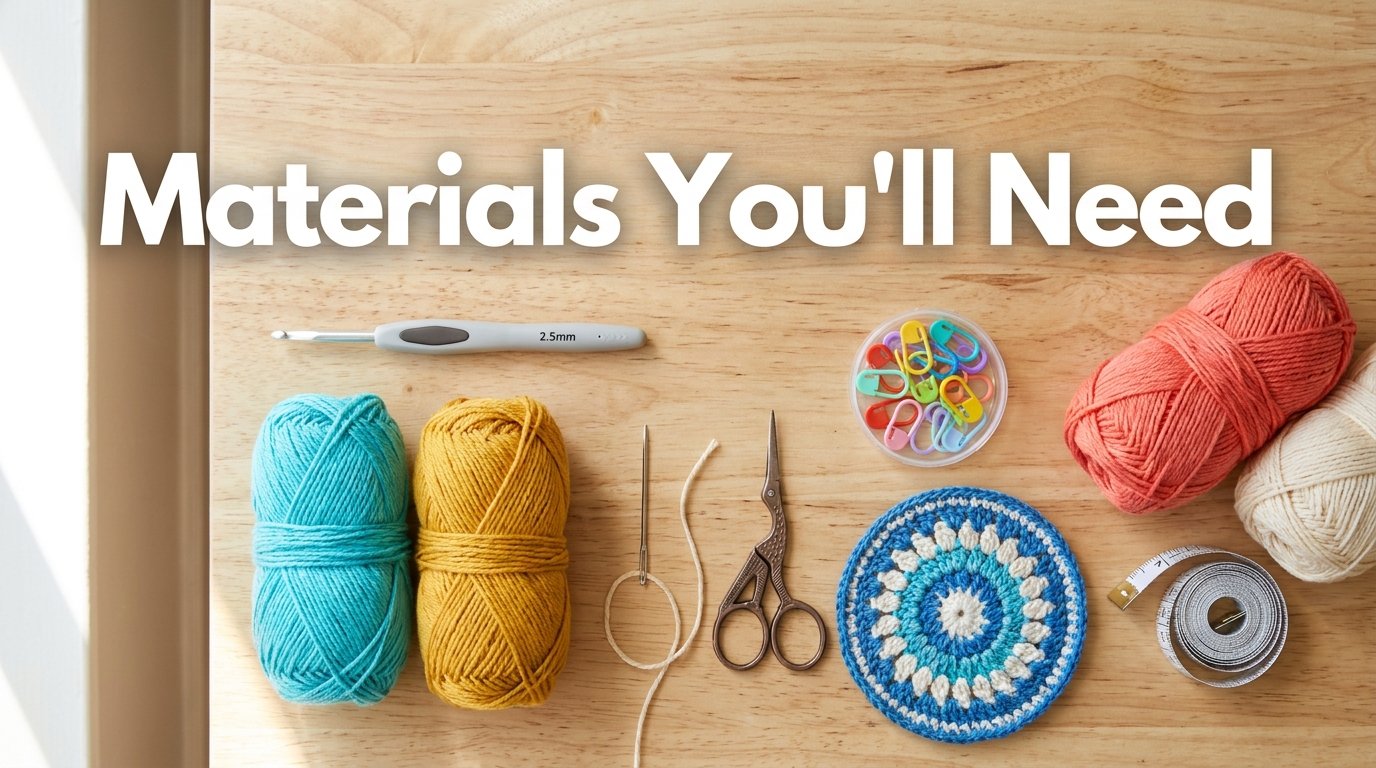
You’ll need:
- Lightweight cotton yarn (recommended for coasters)
- 2.5 mm crochet hook
- Yarn needle
- Scissors
Recommended Yarn
Cotton yarn is the best choice because it absorbs moisture well, keeps its shape, and produces a durable coaster suitable for daily use.
Crochet Abbreviations
- ch — chain
- sl st — slip stitch
- sc — single crochet
- dc — double crochet
Pattern Notes
- The coaster is worked in joined rounds.
- Join every round with a slip stitch.
- Beginning chains count as the first stitch where noted.
- Try to maintain even tension for a smooth, flat circle.
- If your circle begins to curl, loosen your tension slightly.
- If it becomes wavy, your stitches may be too loose or you may have added extra increases.
How to Crochet a Circle Coaster
Round 1 — Create the Center Ring
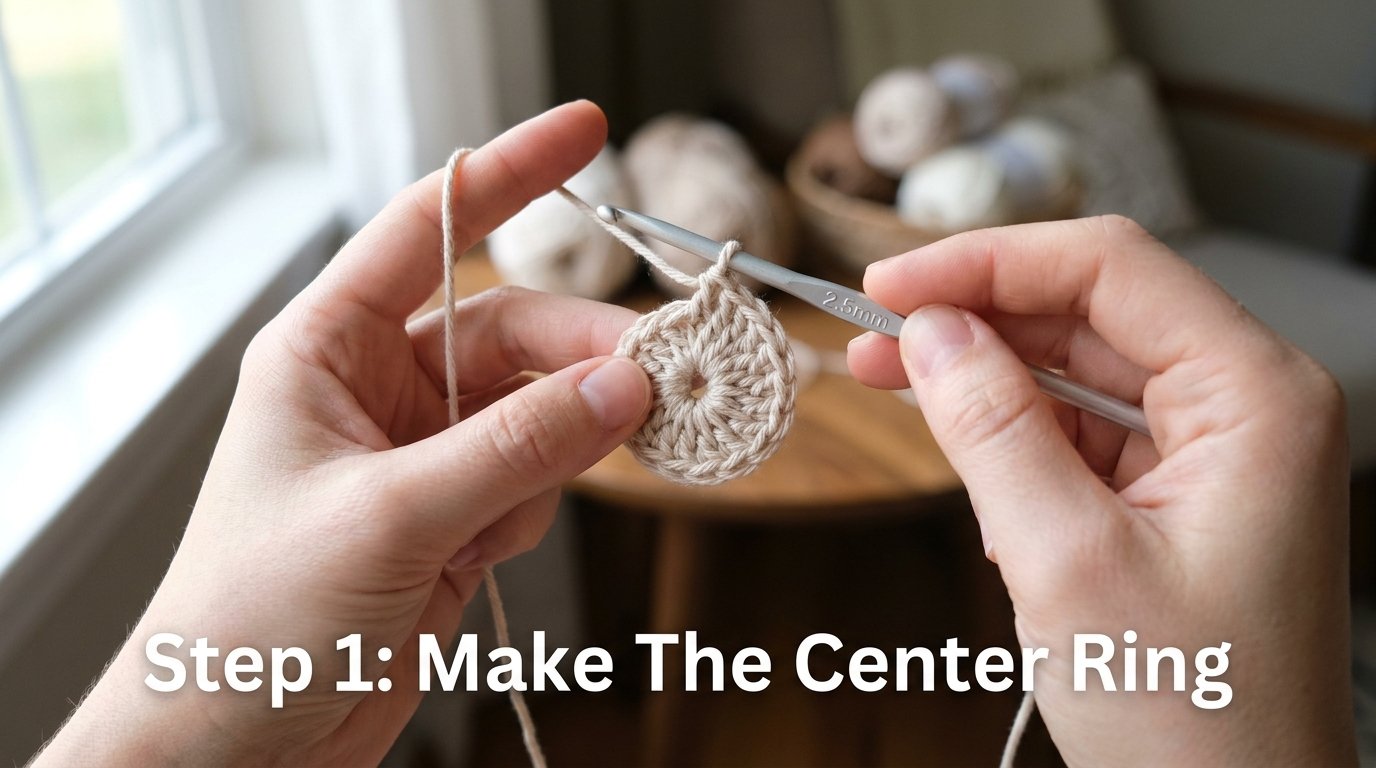
Begin with a slip knot.
Chain 4 stitches.
Join the last chain to the first chain using a slip stitch to form a small ring.
Chain 3 to begin the round.
Work 12 double crochets into the center of the ring.
Join the round with a slip stitch into the top of the beginning chain.
At this stage, you should have a small, neat circular center that forms the foundation of your coaster.
Round 2 — Increase Evenly
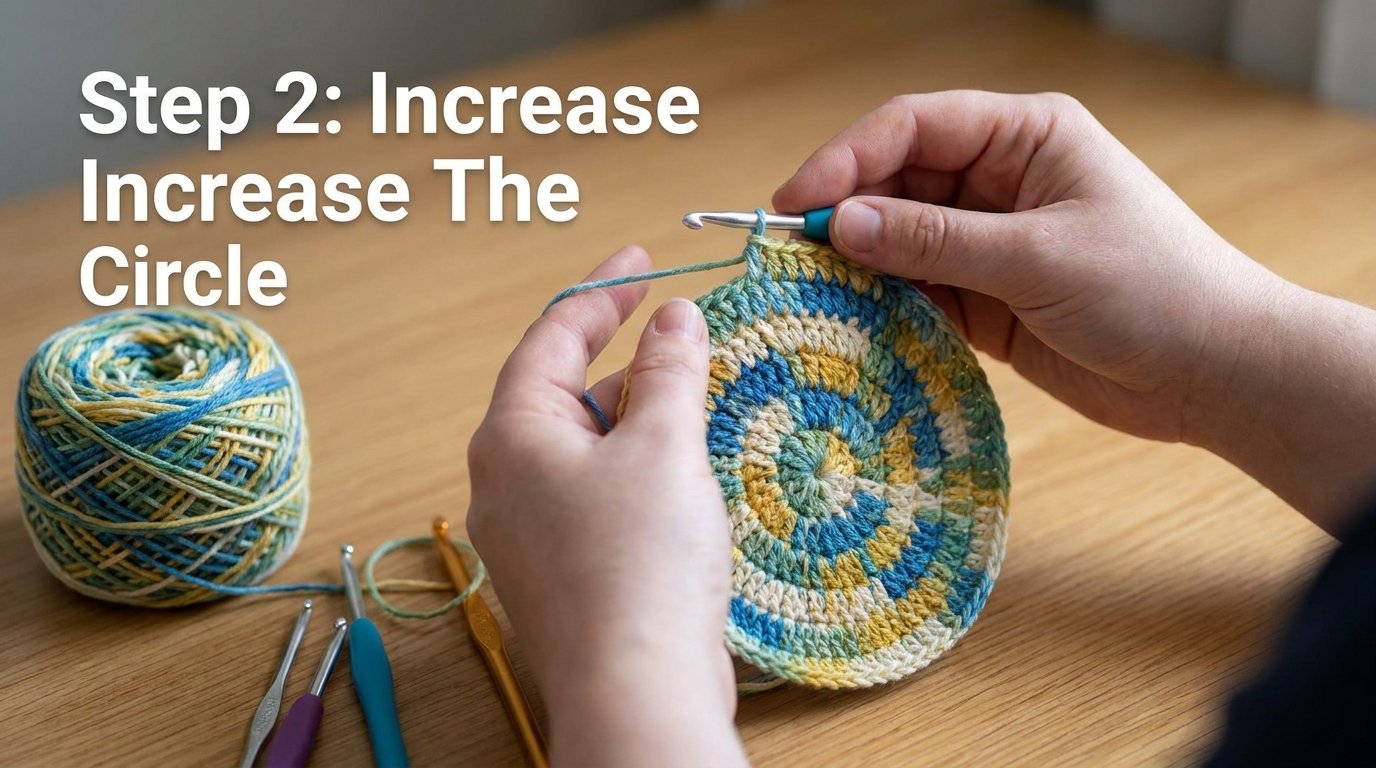
Chain 3.
Work 1 double crochet into the same stitch.
Continue placing 2 double crochets into every stitch around the circle.
Keeping your increases evenly spaced allows the coaster to expand while remaining perfectly flat.
Join the round with a slip stitch.
After this round, the circle should nearly double in diameter without curling or ruffling.
Round 3 — Continue Expanding
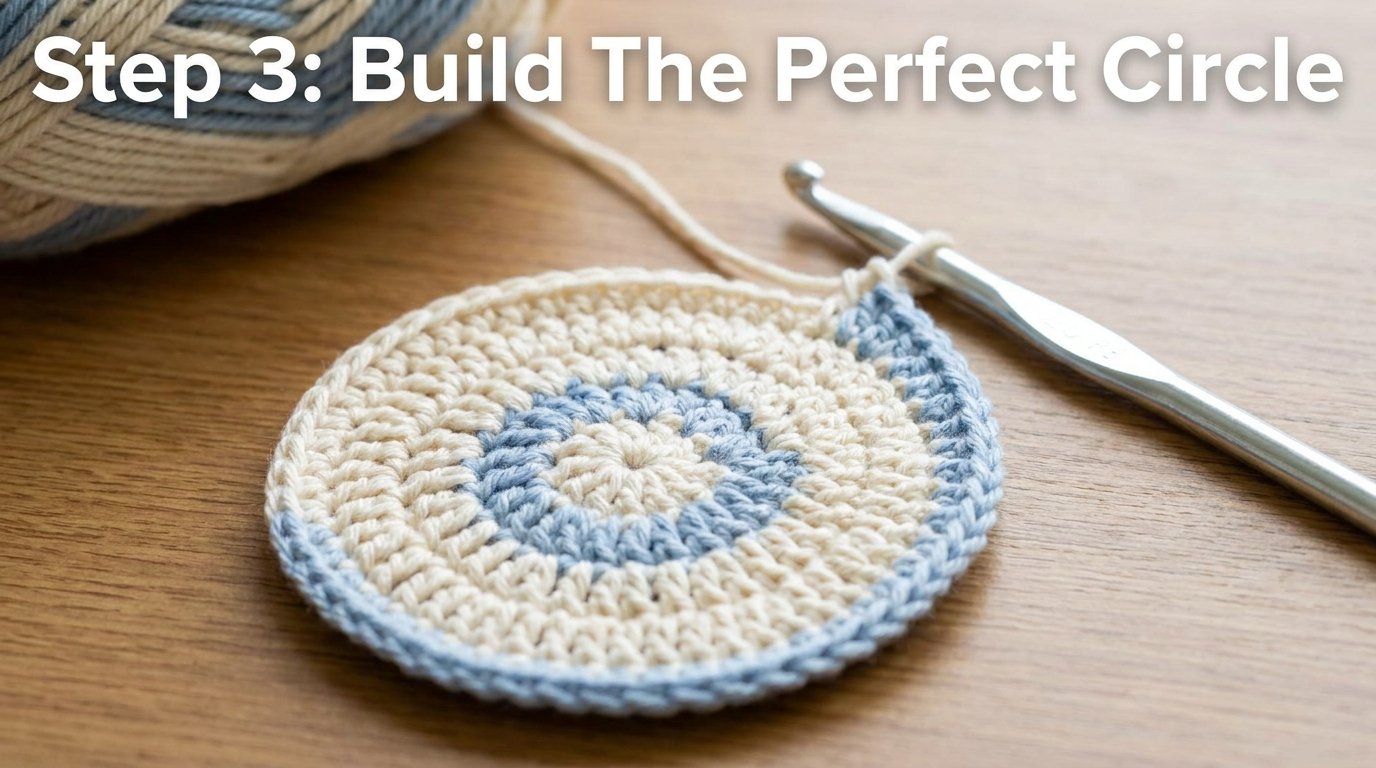
Chain 2.
Work:
- 2 double crochets into the first stitch
- 1 double crochet into the next stitch
Repeat this pattern around the entire circle:
2 dc, 1 dc
Join with a slip stitch to complete the round.
You’ll notice the coaster becoming larger while maintaining a smooth circular shape.
Round 4 — Add Decorative Texture
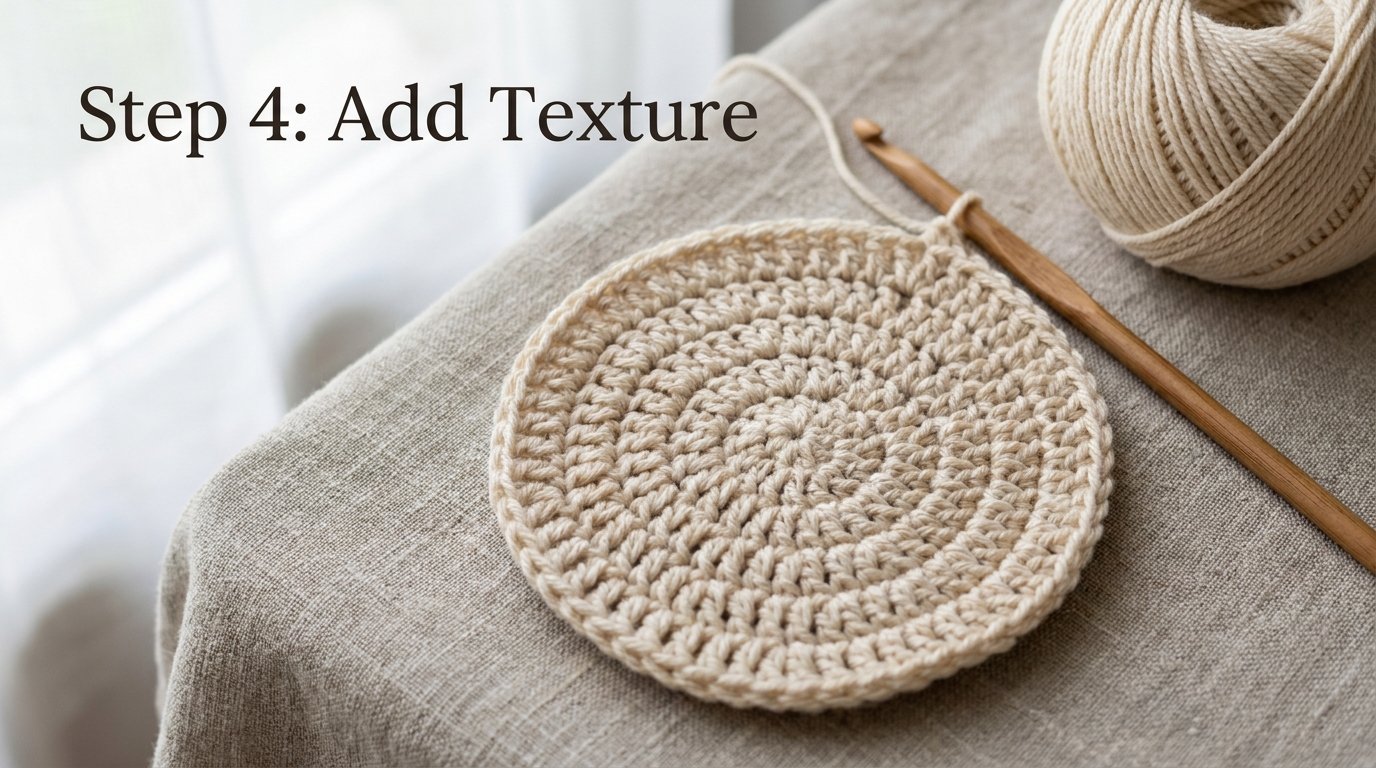
Chain 2 to begin the next round.
Instead of using only one stitch throughout the round, you’ll alternate between single crochets and double crochets to create a subtle textured finish.
Work the following repeat all the way around:
- 2 single crochets
- 2 double crochets
Continue repeating this stitch sequence until you return to the beginning of the round.
Join with a slip stitch.
This combination of shorter and taller stitches gives the coaster a decorative surface while helping maintain a balanced circular shape.
Round 5 — Finish the Border
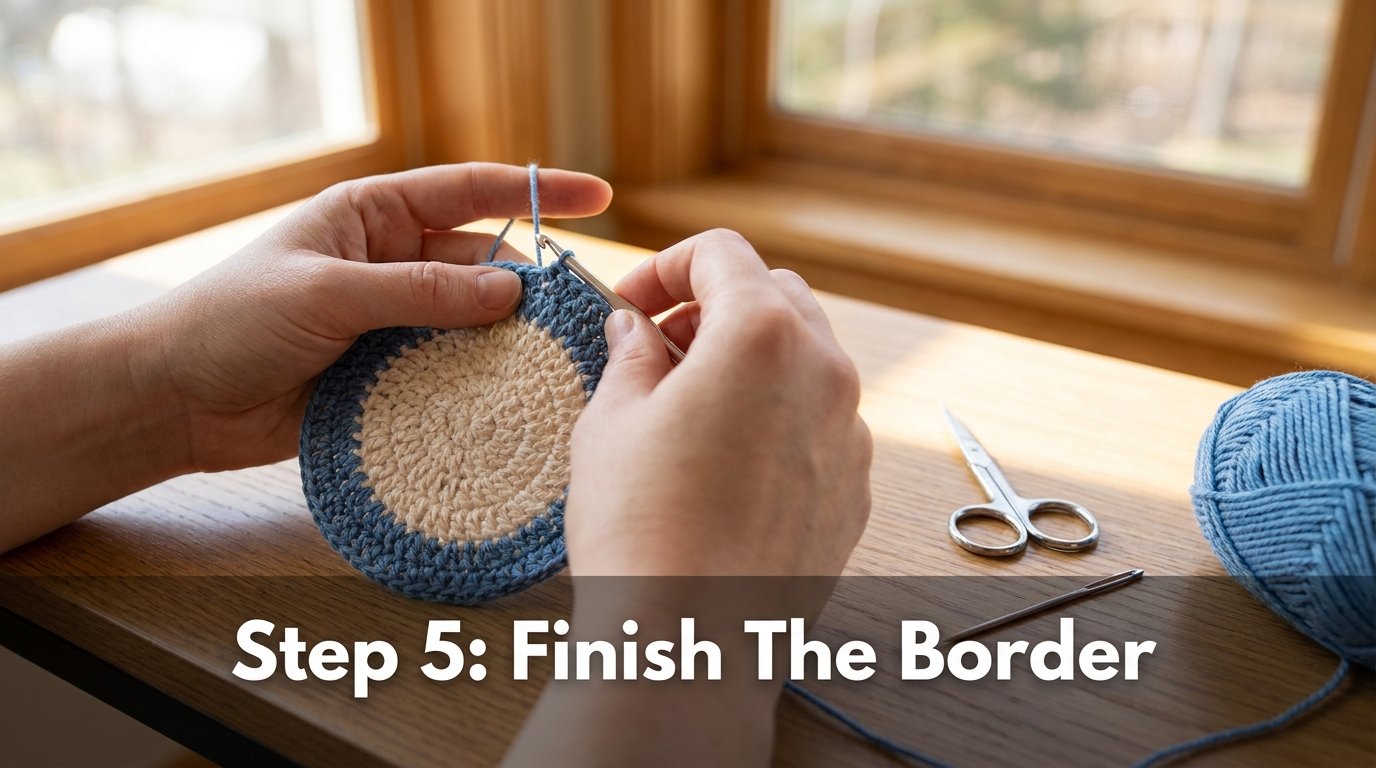
Chain 1.
Work 1 single crochet into every stitch around the entire coaster.
Using single crochet for the final round creates a smooth, polished edge that helps the coaster keep its shape.
Join the final stitch with a slip stitch.
Fasten off, leaving a short yarn tail.
Use a yarn needle to weave in all loose ends securely on the back of the coaster.
Your crochet circle coaster is now complete.
Finishing Tips
Once you’ve woven in the yarn ends, gently flatten the coaster with your hands.
If the edges aren’t perfectly even, lightly block the coaster by dampening it slightly and allowing it to dry flat. This helps create a crisp, professional-looking finish.
For a coordinated table setting, make several coasters using complementary colors or matching shades. Cotton yarn works especially well because it remains durable after repeated use and washing.
Creative Ways to Use Crochet Circle Coasters
This simple crochet circle is incredibly versatile and can be used for much more than protecting your table.
Some popular ideas include:
- Coffee mug coasters
- Tea cup mats
- Glass coasters
- Handmade housewarming gifts
- Holiday gift sets
- Office desk accessories
- Decorative table accents
- Craft fair products
- Small plant pot mats
- Candle holders
Once you’ve mastered the basic circle, you can also use the same technique as the foundation for larger crochet projects like baskets, rugs, hats, and bags.
Helpful Tips for Success
- Count your stitches after every round to keep the circle even.
- Maintain consistent yarn tension throughout the project.
- Avoid adding extra increases, which can make the coaster ripple.
- If your coaster curls upward, try loosening your tension or using a slightly larger hook.
- Cotton yarn provides the best stitch definition and durability for everyday use.
- Make multiple coasters in different colors for a beautiful matching set.
Frequently Asked Questions
Can beginners make this crochet circle?
Absolutely. This project only uses basic stitches and simple increase rounds, making it one of the easiest crochet patterns for beginners.
Which yarn works best?
Cotton yarn is highly recommended because it absorbs moisture well, keeps its shape, and creates a durable coaster suitable for everyday use.
Can I make the coaster larger?
Yes. Simply continue adding increase rounds while maintaining an even stitch pattern. This same technique can be used to create placemats, rugs, or larger decorative circles.
Can I use acrylic yarn?
Yes, although acrylic yarn is less absorbent than cotton. It works well for decorative coasters or display pieces but isn’t quite as practical for hot drinks.
Final Thoughts
This Circle Crochet Pattern Free is a wonderful project for anyone learning to crochet in the round. With only a few basic stitches and simple increase rounds, you can create a neat, sturdy coaster that’s both useful and attractive.
Once you’ve completed your first circle, experiment with different yarn colors, textured borders, or larger sizes to create matching coaster sets and other home décor projects. It’s a relaxing pattern that builds essential crochet skills while producing a handmade item you’ll enjoy using every day.